Viser innlegg med etiketten knittingpattern. Vis alle innlegg

lørdag 24. august 2013

TRENDY SOFT SWEATER - RECIPE

This sweater is soft and wonderful, perfect for the colder evenings now as fall is slowly coming closer.  It is perfect for beginners, as it's fast and really easy to do.

Good luck!


------------------------------------------------------------------------------------------------------------
MATERIALS AND PREPARATIONS 
------------------------------------------------------------------------------------------------------------

SIZE:
S - M - L - XL - XXL - XXXL

FINISHED MEASUREMENTS:
Bust: 90-100-110-120-130-140 cm / 
35½''-39 3/8''-43 3/8''-47¼''-51''-55''

Full length: 66-68-70-72-74-76 cm / 
26''-26¾''-27½''-28 3/8''-29 1/8''-30'' 

MATERIALS: 
DROPS ALPACA BOUCLÉ from Garnstudio
150-150-200-200-200-250 g color no 0100, off white

And use:
DROPS SYMPHONY from Garnstudio
250-300-300-350-350-400 g color no 01, off white

And use:
DROPS COTTON VISCOSE from Garnstudio
200-200-200-250-250-300 g color no 02, off white

NEEDLES:
size 12 mm / US 17 – or size needed to get 8 sts in stockinette st with 1 strand of each yarn (= 3 strands) = width 10 cm / 4''.
CIRCULAR NEEDLES:
size 10 mm / US 15 (40-60 cm / 16"-24") - for neck edge.


------------------------------------------------------------------------------------------------------------
BEFORE YOU START
------------------------------------------------------------------------------------------------------------

GARTER ST (back and forth on needle):
K all rows. 1 ridge = 2 K rows.

PATTERN:
See diagrams A.1 and A.2. Diagrams show all rows in pattern seen from RS.


DIAGRAM:

K from RS, P from WS
K from WS
1 YO on needle (slip YO off the needle on next row)
2 YOs on needle (slip YOs off the needle on next row)


KNITTING TIP:
On the rows where dropped sts are worked, make 1 extra YO inside the edge st in each side (i.e. 3 YOs on needle with large dropped sts and 2 YOs on needle with small dropped sts). 
Slip YOs off the needle on next row as before. 
This is done to avoid tight edges on the piece.

MEASURING TIP:
Because of the weight of the yarn all measurements must be done by holding the piece up otherwise the garment will be too long when worn.


------------------------------------------------------------------------------------------------------------
PATTERN AND INSTRUCTIONS
------------------------------------------------------------------------------------------------------------


BACK PIECE:
Worked back and forth on needle. Loosely cast on 36-40-44-48-52-56 sts on needle size 12 mm / US 17 with 1 strand of each yarn (= 3 strands). 

Work 2 ridges in GARTER ST - see explanation above (1st row = RS). 

Then work pattern according to diagram A.1 with 1 edge st in garter st in each side - READ KNITTING TIP and REMEMBER KNITTING GAUGE. 

When piece measures 51-52-53-53-55-56 cm / 20"-20½"-21"-21"-21½"-22" - READ MEASURING TIP, cast on 2 new sts at the end of the next 2 rows = 40-44-48-52-56-60 sts. 

Continue A.1 with 1 edge st in garter st in each side - NOTE: It is important to also make 1 extra YO on the rows with dropped sts inside edge st in each side (slip YOs off the needle on next row). This is done to avoid tight edges on the piece.

When piece measures 64-66-68-70-72-74 cm / 25¼''-26''-26¾''-27½''-28 3/8''-29 1/8'' - remember Measuring tip, bind off the middle 10-10-10-12-12-12 sts for neck from RS and finish each shoulder separately. 

Continue to bind off 1 st on next row from neck = 14-16-18-19-21-23 sts remain on the shoulder. 
K 1 row from RS and K 1 row from WS before LOOSELY binding off with K from RS, piece measures approx. 66-68-70-72-74-76 cm / 26''-26¾''-27½''-28 3/8''-29 1/8''-30''. 

Repeat on the other shoulder.


FRONT PIECE:
Front piece is worked the same way as back piece but 10 cm / 4'' shorter vertically. 

Beg and work as on back piece until piece measures 41-42-43-43-45-46 cm / 16"-16½"-17"-17"-17 3/4"-18" - remember Measuring tip. 

Cast on 2 new sts at the end of the next 2 rows = 40-44-48-52-56-60 sts. 

Continue A.1 with 1 edge st in garter st in each side - NOTE: It is important to also make 1 extra YO on the rows with dropped sts inside edge st in each side as on back piece. 

When piece measures 50-52-54-55-57-59 cm / 19¾''-20½''-21¼''-21 5/8''-22½''-23¼'' - remember Measuring tip, bind off the middle 8-8-8-10-10-10 sts for neck and continue each shoulder separately. 

Then bind off for neck at the beg of every row from mid front: 1 st 2 times = 14-16-18-19-21-23 sts remain on needle. 

Continue to work until piece measures 55-57-59-61-63-65 cm / 21 5/8''-22½''-23¼''-24''-24¾''-25½'', K 1 row from RS and K 1 row from WS before LOOSELY binding off with K from RS.


ASSEMBLY:
Sew the shoulder seams tog inside bind off edge.


SLEEVE:
Pick up 24-26-28-30-30-32 sts from RS inside edge sts along armhole on needle size 12 mm / US 17 with 1 strand of each yarn (if more or fewer sts are picked up, inc/dec evenly on first row).

K 1 row from WS. Then work pattern according to diagram A.2 with 1 edge st in garter st in each side - remember Knitting tip. 

When sleeve measures 4-4-2-2-2-2 cm / 1½"-1½"-3/4"-3/4"-3/4"-3/4" - remember Measuring tip, dec 1 st in each side. 

Repeat dec every 11-11-9-8-8-6 cm / 4 3/8"-4 3/8"-3½"-3 1/8"-3 1/8"-2 3/8" 3-3-4-4-4-5 more times (= 4-4-5-5-5-6 dec in total) = 16-18-18-20-20-20 sts remain on needle. 

Continue pattern until sleeve measures 44-42-41-39-38-36 cm / 17 1/4"-16½"-16 1/8"-15 1/4"-15"-14 1/4".

Switch to circular needle size 10 mm / US 15 and work in garter st back and forth until sleeve measures 49-47-46-44-43-41 cm / 19 1/4"-18½"-18"-17 1/4"-17"-16 1/8" (shorter measurements in the larger sizes because of wider shoulders). 

Loosely bind off.

Knit another sleeve in the opposite side.


MORE ASSEMBLY:
Sew sleeve and side seams in one, sew in outermost sts, make sure the seam is not tight.


NECK EDGE:
Pick up from RS approx. 30 to 36 sts around the neck on circular needle size 10 mm / US 15 with 1 strand of each yarn (= 3 strands). P 1 round, K 1 round and P 1 round, then LOOSELY bind off with K.


------------------------------------------------------------------------------------------------------------

------------------------------------------------------------------------------------------------------------


This wonderful Recipe is free, made and shared by DROPS Design, at Garnstudio.com.  They have many wonderful recipes on their websites.  The website is in many languages, and they also list retailers and online shops in different countries and regions, so it's very likely you'll find what you need.

Direct link to original recipe by DROPS sweater pattern //HERE


tirsdag 16. juli 2013

KNITTING PATTERN - THE SOFT & FLUFFY SUMMER SWEATER

Several of you asked me for the pattern I used for the lovely summer sweater I made, so I thought I'd put it here for you guys.

It's a really simple sweater, but it's also really lovely.  Quick to make, and wonderful to wear - doesn't get much better then that.


------------------------------------------------------------------------------------------------------------
MATERIALS AND PREPARATIONS 
------------------------------------------------------------------------------------------------------------


SIZE:

S - M - L - XL - XXL - XXXL 


MEASUREMENTS:
Hem: 92-98-104-114-126-138 cm / 36 1/4"-38½"-41"-45"-49½"-54 1/4"
Full length: 65-67-69-71-73-75 cm / 25½''-26 3/8''-27 1/8''-28''-28¾''-29½'' 


MATERIALS:
DROPS VERDI from Garnstudio 350 g for all sizes, color no 06, light pink / beige - find it //HERE


NEEDLES:
GARTER ST (back and forth on needle): K all rows.
Double pointed needles and circular needle size 6 mm / US 10 (80 cm / 32'') - or size needed to get 14 sts x 16 rows in stockinette st = 10 x 10 cm / 4'' x 4''.


INCREASE TIP:
Inc 1 st from RS by making 1 YO inside 1 edge st. On next row P YO twisted (i.e. work in the back loop of st instead of front) to avoid holes.


------------------------------------------------------------------------------------------------------------
PATTERN AND INSTRUCTIONS
------------------------------------------------------------------------------------------------------------


BACK PIECE:
Worked back and forth on circular needle.

Cast on 66-70-74-82-90-98 sts (includes 1 edge st in each side) on circular needle size 6 mm / US 10 with Verdi.
Work 6 rows in Garter st - See explanation above. Then work in stockinette st. REMEMBER THE GAUGE!
When piece measures 4-5-5-8-12-24 cm / 1½"-2"-2"-3 1/8"-4 3/4"-9½", inc 1 st in each side - READ INCREASE TIP. READ ALL OF THE FOLLOWING SECTION BEFORE CONTINUING.

Repeat the inc in each side every 4½-5-5½-8-12-24 cm / 1½"-2"-2 1/4"-3 1/8"-4 3/4"-9½" a total of 13-12-11-8-5-2 times.
When all inc are done there are 92-94-96-98-100-102 sts on needle.
NOTE: When piece measures 48-50-51-52-53-55 cm / 19"-19 3/4"-20"-20½"-21"-21 5/8", insert a marker in each side to mark where armhole starts. Continue with inc in each side as before.

When piece measures 63-65-67-69-71-73 cm / 24¾''-25½''-26 3/8''-27 1/8''-28''-28¾'', continue in garter st until finished measurements - AT THE SAME TIME on 1st row in garter st, bind off the middle 26-26-28-28-30-30 sts for neck.
Now finish each part separately.

Bind off 2 sts on beg on next row from neck = 31-32-32-33-33-34 sts remain on the shoulder.
Bind off when piece measures 65-67-69-71-73-75 cm / 25½''-26 3/8''-27 1/8''-28''-28¾''-29½''.


FRONT PIECE:
Work as on back piece until piece measures 57-59-61-63-65-67 cm / 22½''-23¼''-24''-24¾''-25½''-26 3/8''.
Now bind off the middle 24-24-26-26-28-28 sts for neck and finish each shoulder separately.
Bind off at the beg of every row from neck as follows: 2 sts 1 time, 1 st 1 time = 31-32-32-33-33-34 sts remain on shoulder.
When piece measures 63-65-67-69-71-73 cm / 24¾''-25½''-26 3/8''-27 1/8''-28''-28¾'', continue in garter st until finished measurements.
Bind off when piece measures 65-67-69-71-73-75 cm / 25½''-26 3/8''-27 1/8''-28''-28¾''-29½''.


SLEEVE:
Worked back and forth on circular needle.
Cast on 34-36-38-38-40-40 sts (includes 1 edge st in each side) on circular needle size 6 mm / US 10 with Verdi.
Work 6 rows in garter st, then work in stockinette st. When piece measures 5-5-5-5-5-4 cm / 2"-2"-2"-2"-2"-1½", inc 1 st in each side.
Repeat inc every 5½-5½-5½-5-5-4½ cm / 2 1/4" -2 1/4"–2 1/4"-2"-2"-1 3/4" a total of 7-7-7-8-8-9 times = 48-50-52-54-56-58 sts.
Loosely bind off when piece measures 45 cm / 17 3/4'' in all sizes.
Knit another sleeve the same way.


ASSEMBLY:
Sew the shoulder seams. Sew side seams up to marker. Sew sleeves tog inside 1 edge st and sew sleeves in.


NECKLINE:
Knit up approx. 72 to 80 sts around the neck on double pointed needles size 6 mm / US 10.
Work in the round as follows: * K 1 round, P 1 round *, repeat from *-* for approx. 2 cm / 3/4'', loosely bind off all sts.


This wonderful Recipe is free, made and shared by DROPS Design, at Garnstudio.com.  They have many wonderful recipes on their websites.  The website is in many languages, and they also list retailers and online shops in different countries and regions, so it's very likely you'll find what you need.

Direct link to DROPS Verdi Yarn //HERE
Direct link to original recipe by DROPS sweater pattern //HERE


tirsdag 12. mars 2013

Easter Knitting Ideas and Free Recipes

Soon it's time for Easter, so I think it's time to share some knitting ideas for the occasion.
Drops Design has a Easter Workshop up and running on their website, with adorable knitting and crochet recipes for free.

Below are some of my favorites with links!


Da er det snart Påske alle sammen!  I den anledning tenkte jeg det ville være koselig å dele litt påske inspirasjon på strikke og hekle fronten.  Drops Design har satt opp ett kjempe fint Påskeverksted på hjemmesiden deres hvor de deler flere fine oppskrifter gratis.  

Her er noen av mine favoritter! For oppskrift klikk på linken under bildet.


Norsk //Her
US //Here


Norsk //Her
US //Here


Norsk //Her
US //Here


Norsk //Her
US //Here


For the entire list of free recipes check out the workshop here: Drops Easter Workshop


For å se alle de gratis oppskriftene i Påskeverkstedet klikk på følgende link: Drops Påskeverksted


Happy Knitting!  :)


mandag 25. februar 2013

Knit your own Angry Birds Cap!

Like Angry Birds?  Well then you're gonna love this cap I stumbled across. 
I found this at a Norwegian blog called Lenesplass.  Lene shares all sorts of creative works.


Angry Birds Cap


Materials
Sizes: 
3-5 years (6-9 years)

Yarn: 
2 skeins Sisu from Sandnes Garn (80% wool, 20% nylon)
192 yards/50 grams pr skein (175 meter/50 grams)
Scraps of a slightly thicker yarn for the Angry bird. I have used Smart from Sandnes Garn, in colors: red, beige, orange, black and white.

Gauge: 
27 sts x 44 rows = 10 cm (4 inch)

Needles: 
1 circular size 2.5 mm (US 1 ½)
1 circular size 3.0 mm (US 2 ½)
5 double pointed 3.00 mm (US 2 ½)

Darning needle
Key: k = knit
p = purl
k2tog = knit 2 sts together
p2tog = purl 2 sts together


This hat is worked in the round on circular needle and then on double pointed needles.
Rounds begin mid back. I recommend using a stitch marker to help you keep track on where the new round start.


How to Proceed

Cast on 96 (104) sts on circular needle size 2.5 mm.

  • Work in k2p2 for ribbing, for 3 cm (1⅛ inch).
  • Switch to needle size 3.00 mm.
  • Size 3-5 years, knit: k2p2 * 7 times, k42, p2, k2p2 * 6 times
    • (Size 6-9 years, knit: k2p2 * 8 times, k42, p2, k2p2 * 7 times)
  • Repeat for 36 rounds.
  • Knit k2p2 for 18 (26) rounds.
  • Increase
  • Switch to the double pointed needles when it becomes uncomfortable to knit with the circular needle.
  • Knit k2, p2tog for one round = 72 (78) sts
  • Knit k2, p1 for one round
  • Knit k2tog, p1 for one round = 48 (52) sts
  • Knit k1, p1 for one round
  • Knit k2tog for one round = 24 (26) sts
  • Knit for one round
  • Knit k2tog for one round = 12 (13) sts
  • Knit k2tog for one round = 6 (7) sts
  • Cut the thread and pull it through the remaining sts and tighten together.
  • Weave in all loose ends.


Use the chart and stitch the Angry bird in front of the hat.


Hope you like it!


tirsdag 19. februar 2013

Arm Knitting - DIY - Amazing Scarf & Blanket

I came across something really cool here the other day that made it onto my project list, which kinda just keeps on growing and growing...
  
So, what I found was a beautiful blog called "Simply Maggie".   She shares DIY's, knit and crochet projects. Here you can check out her facebook page.

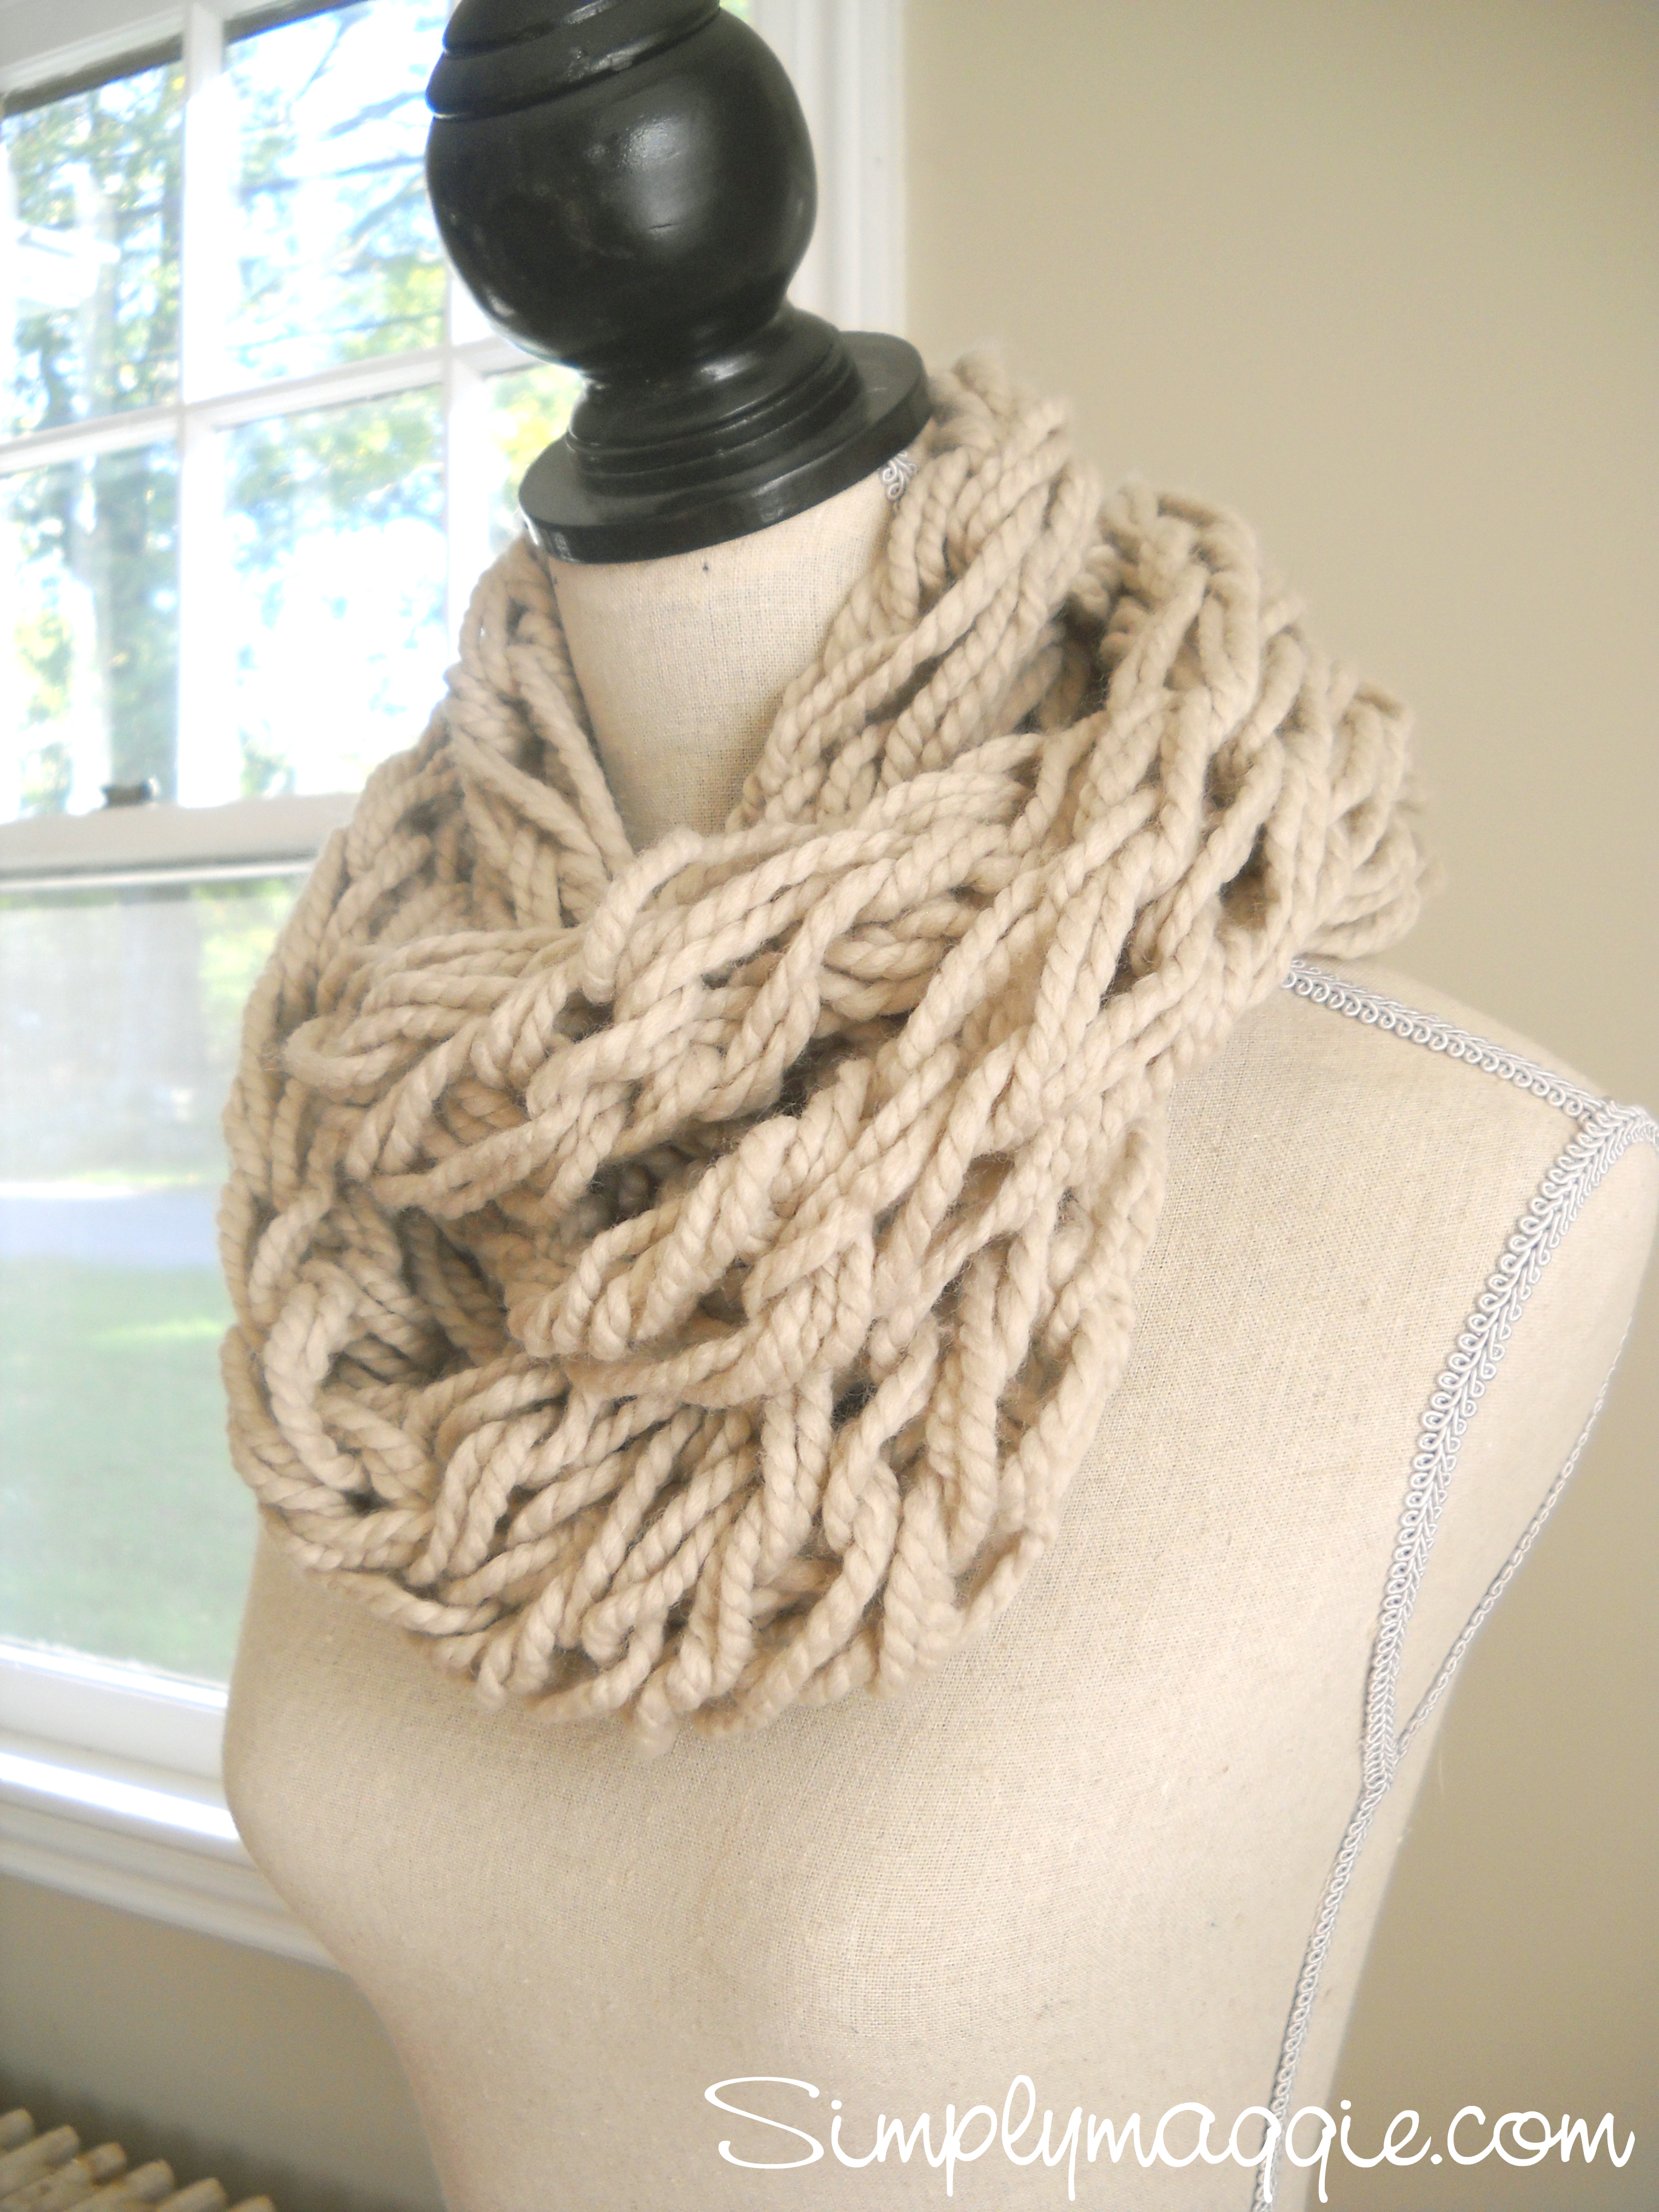
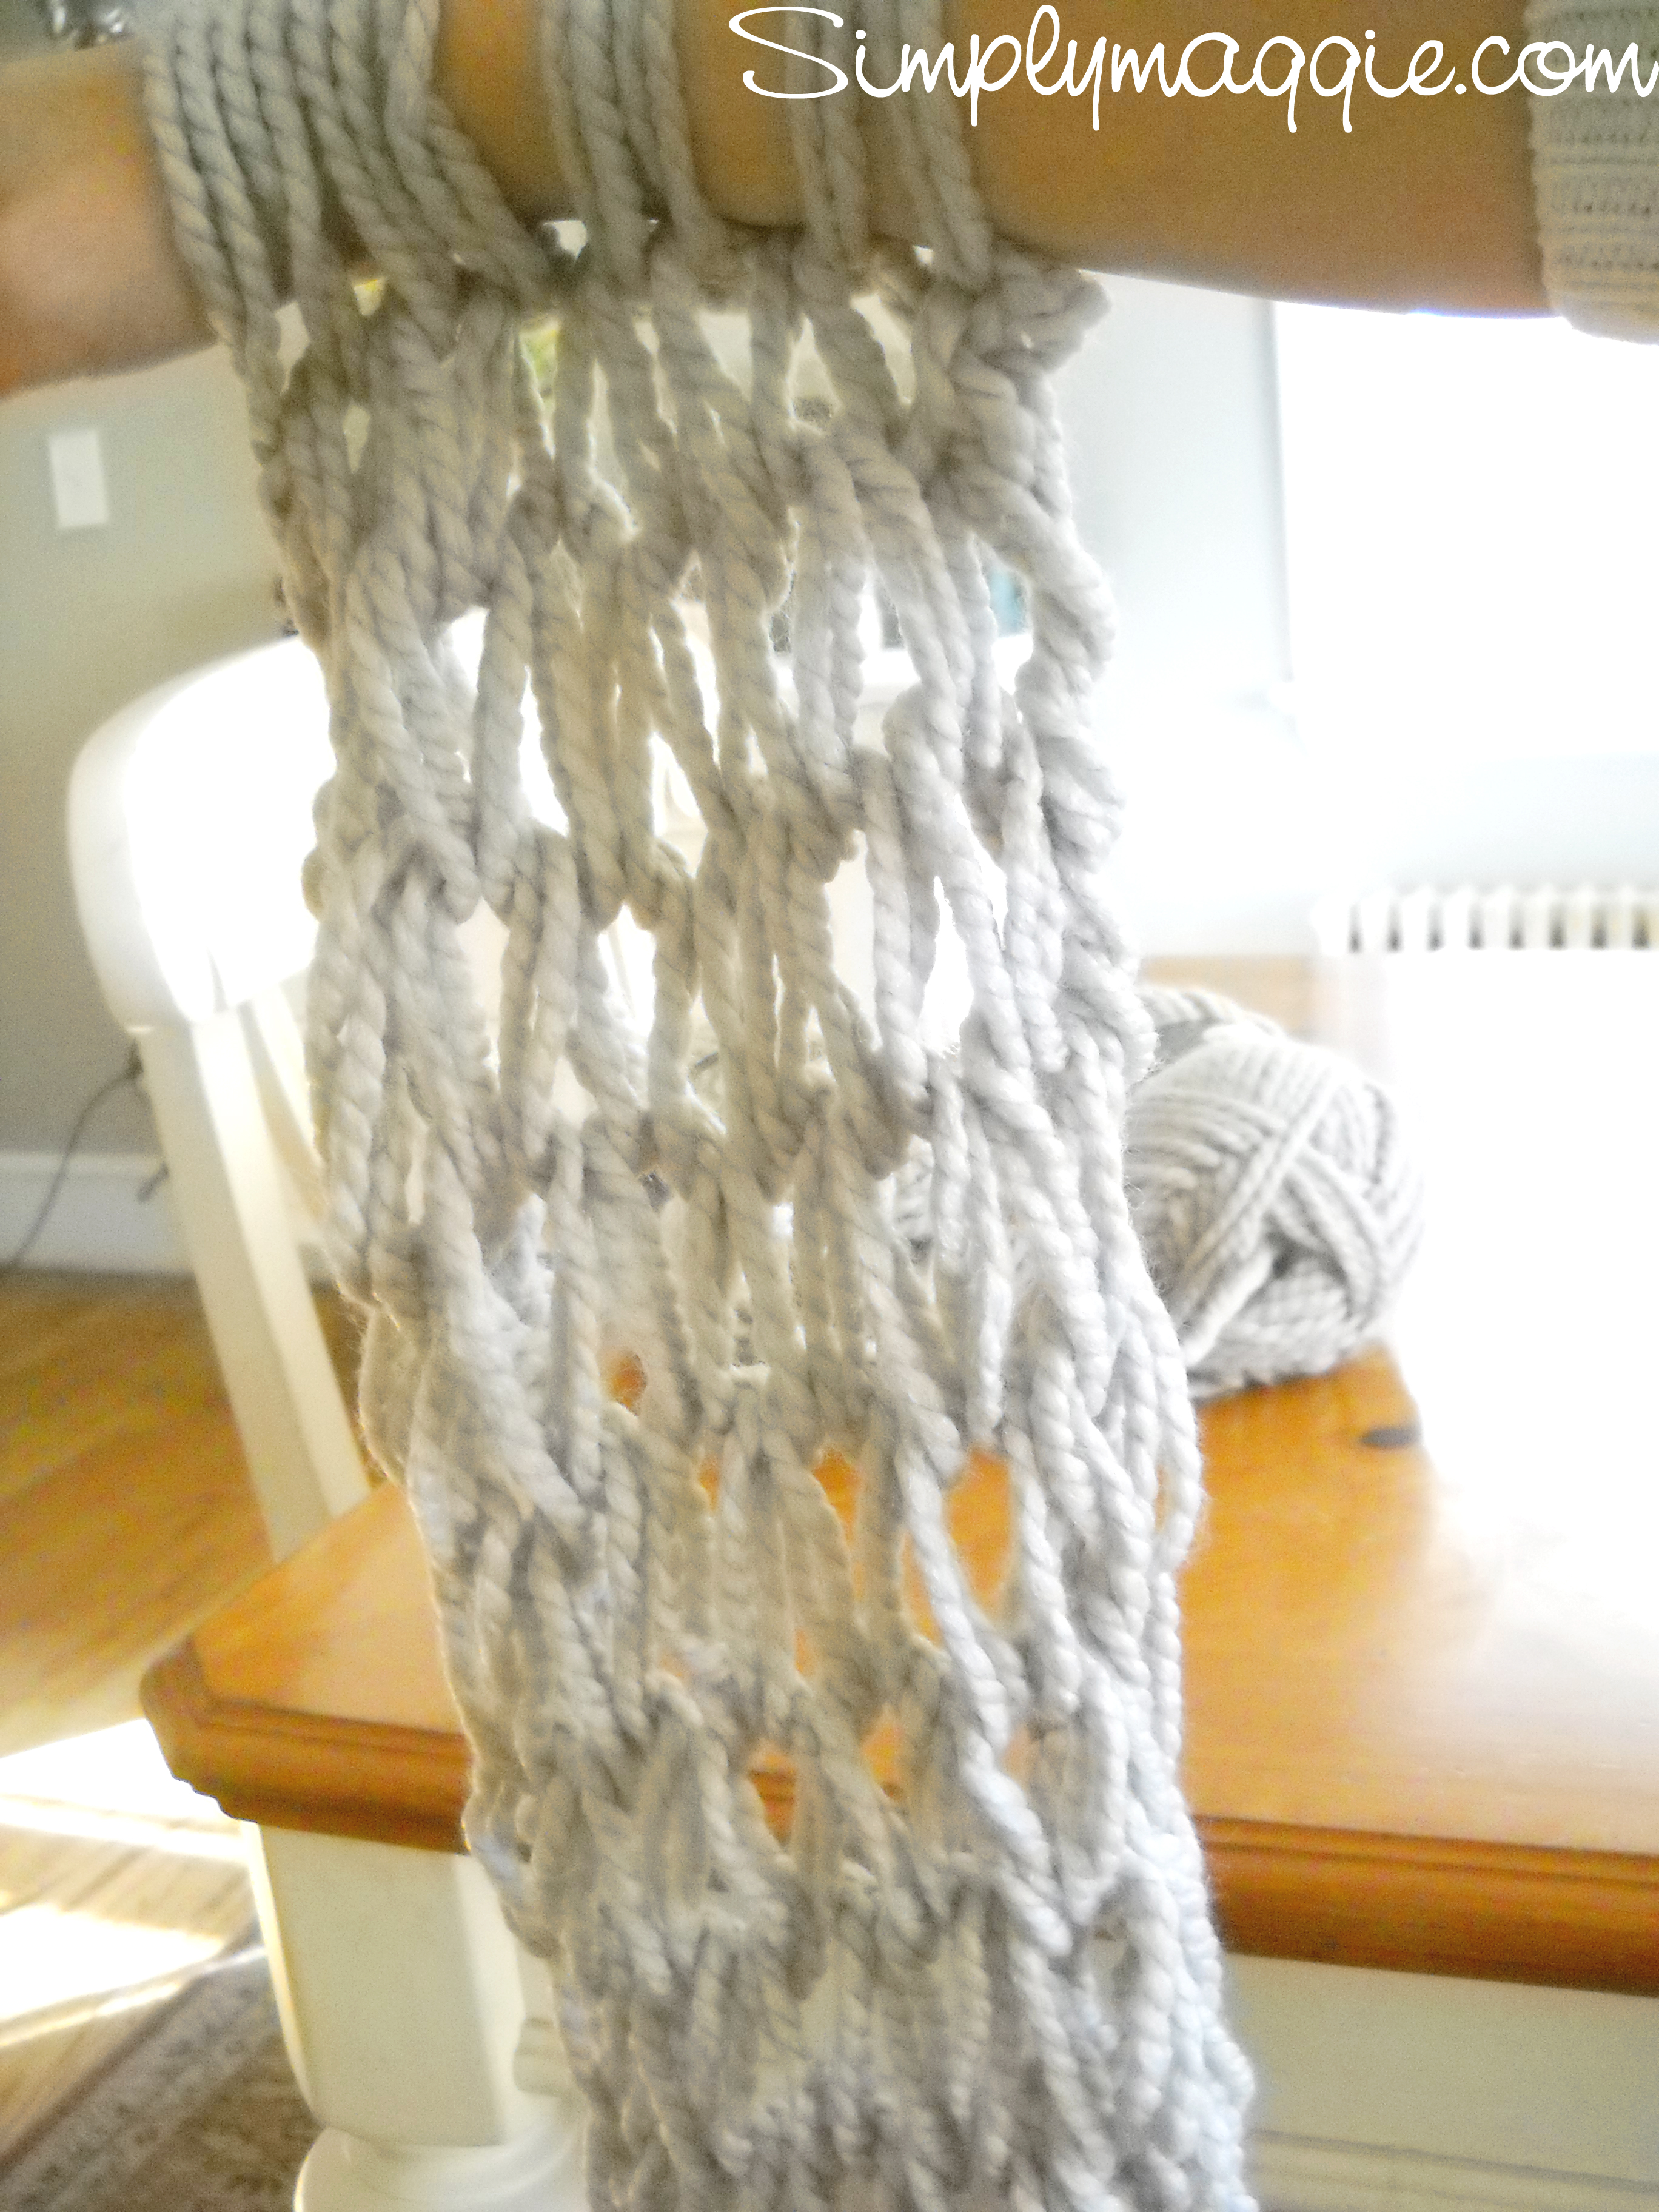
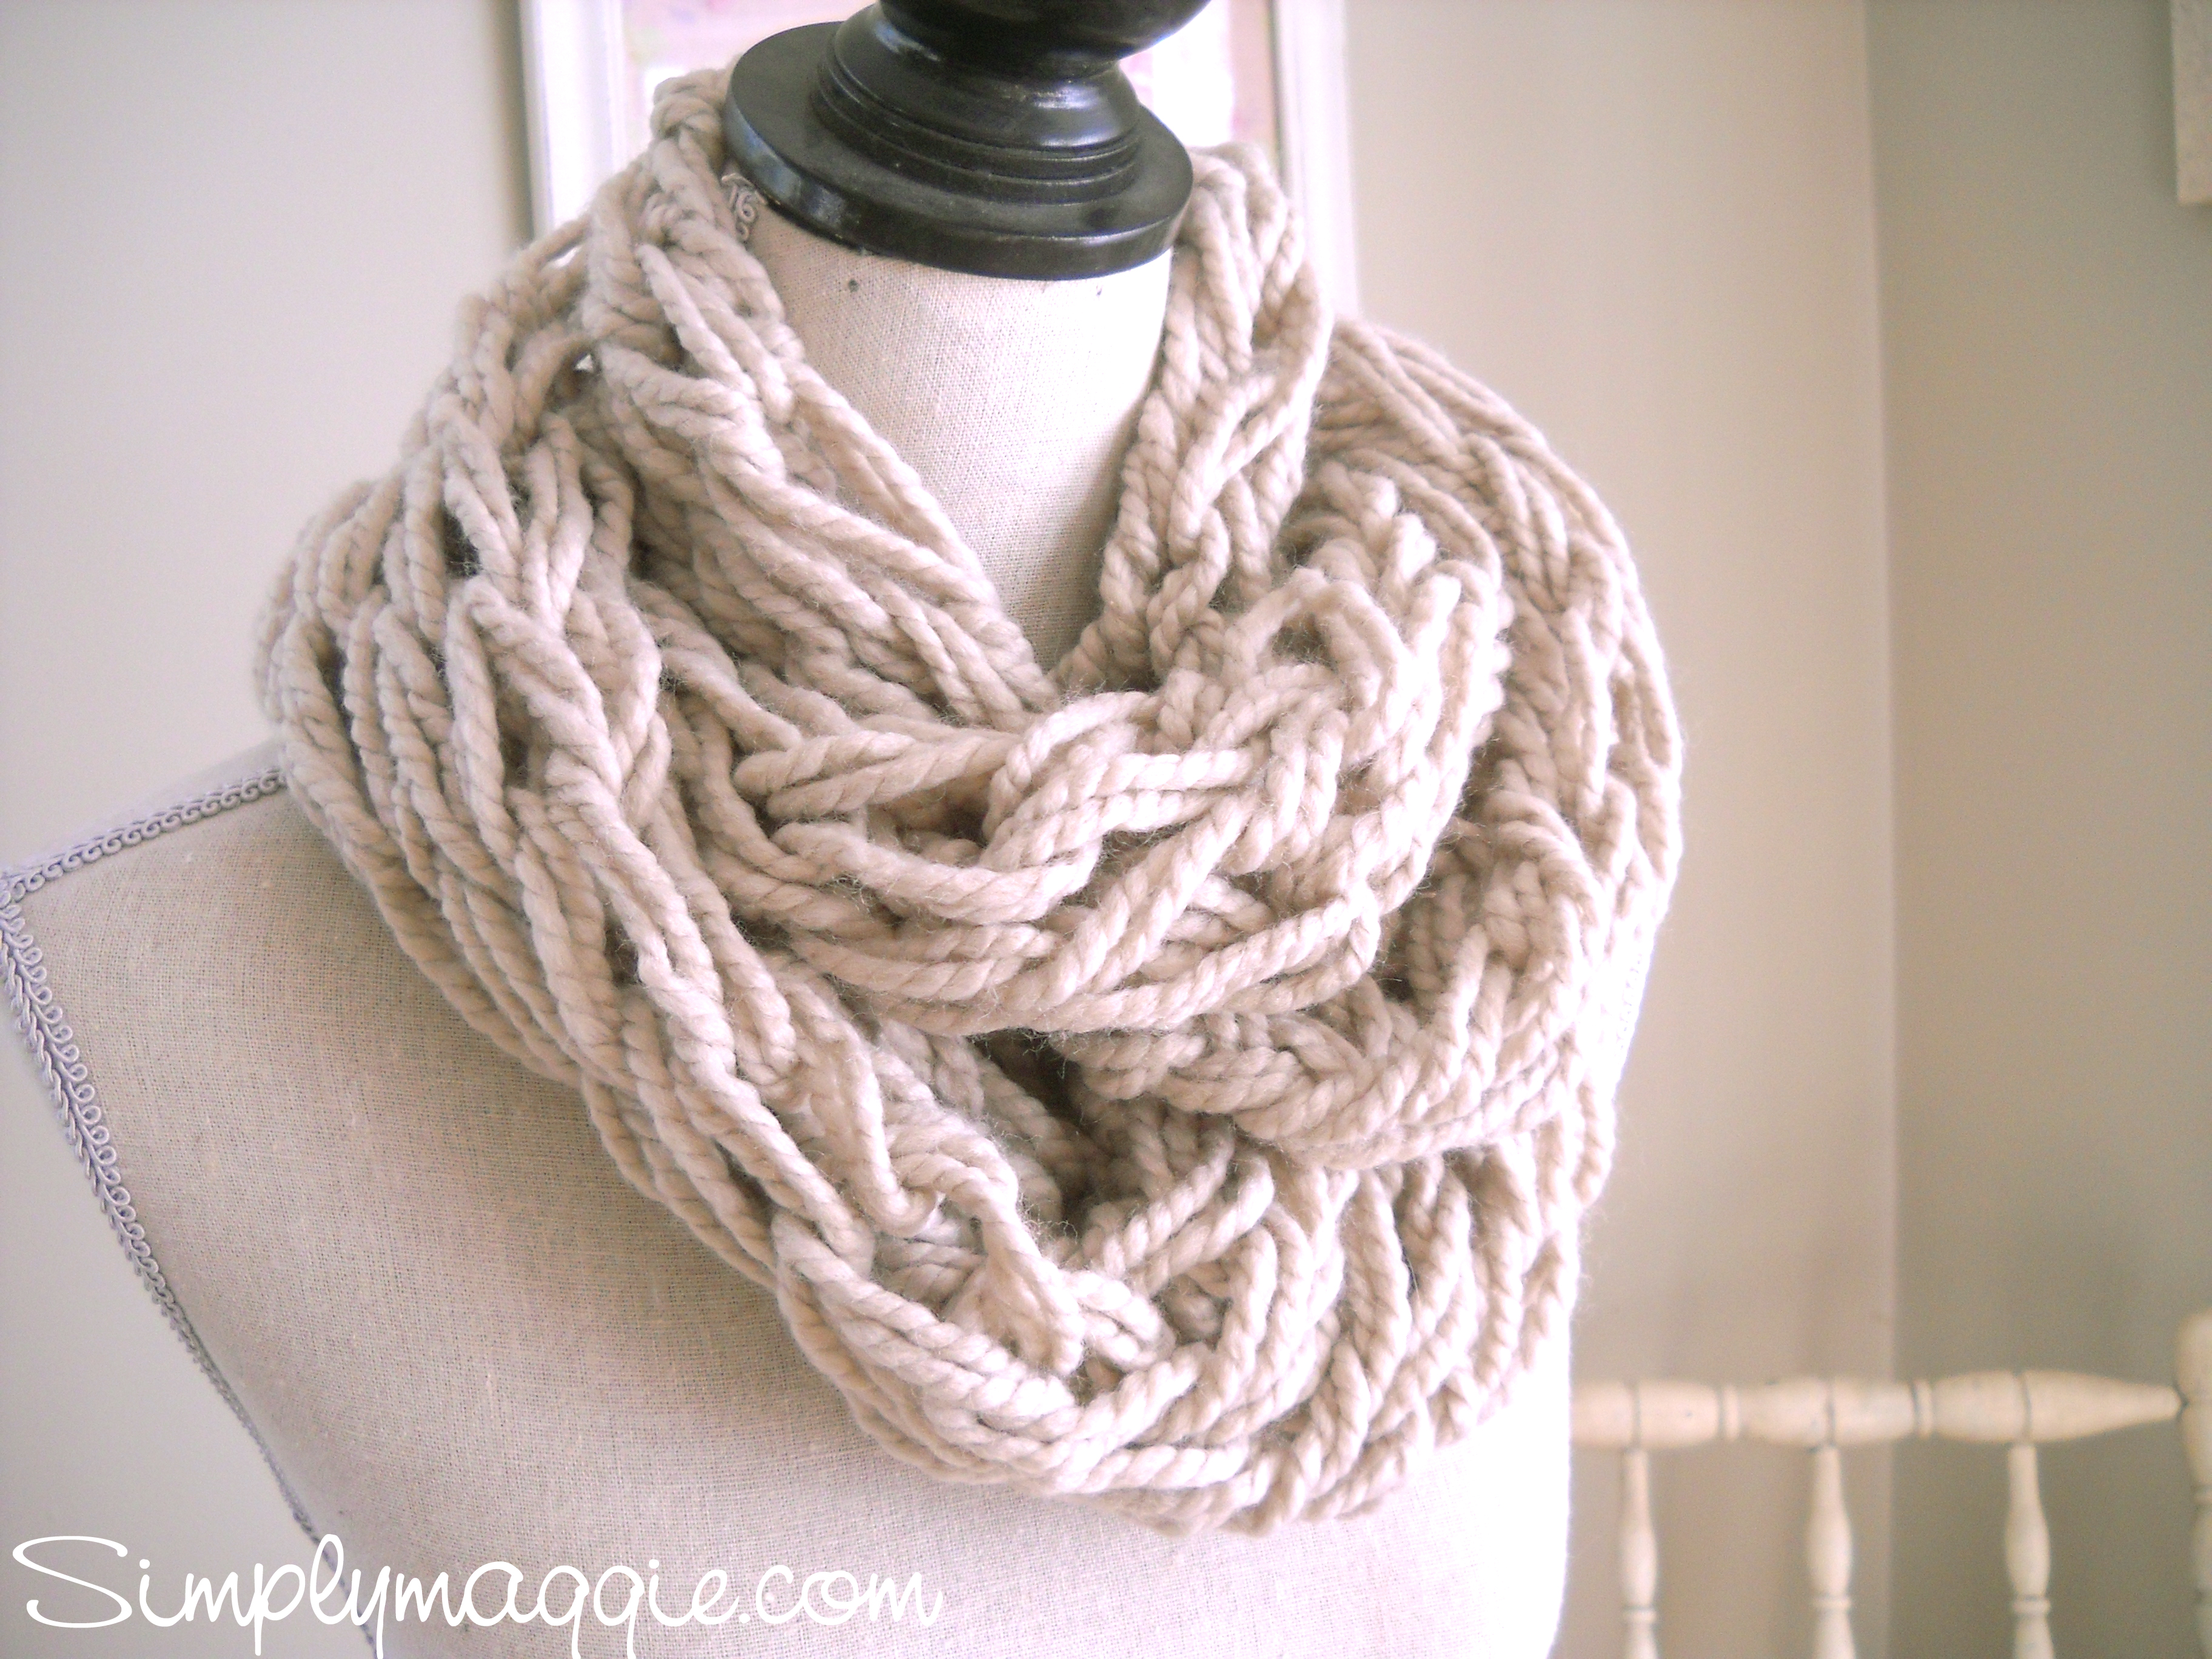
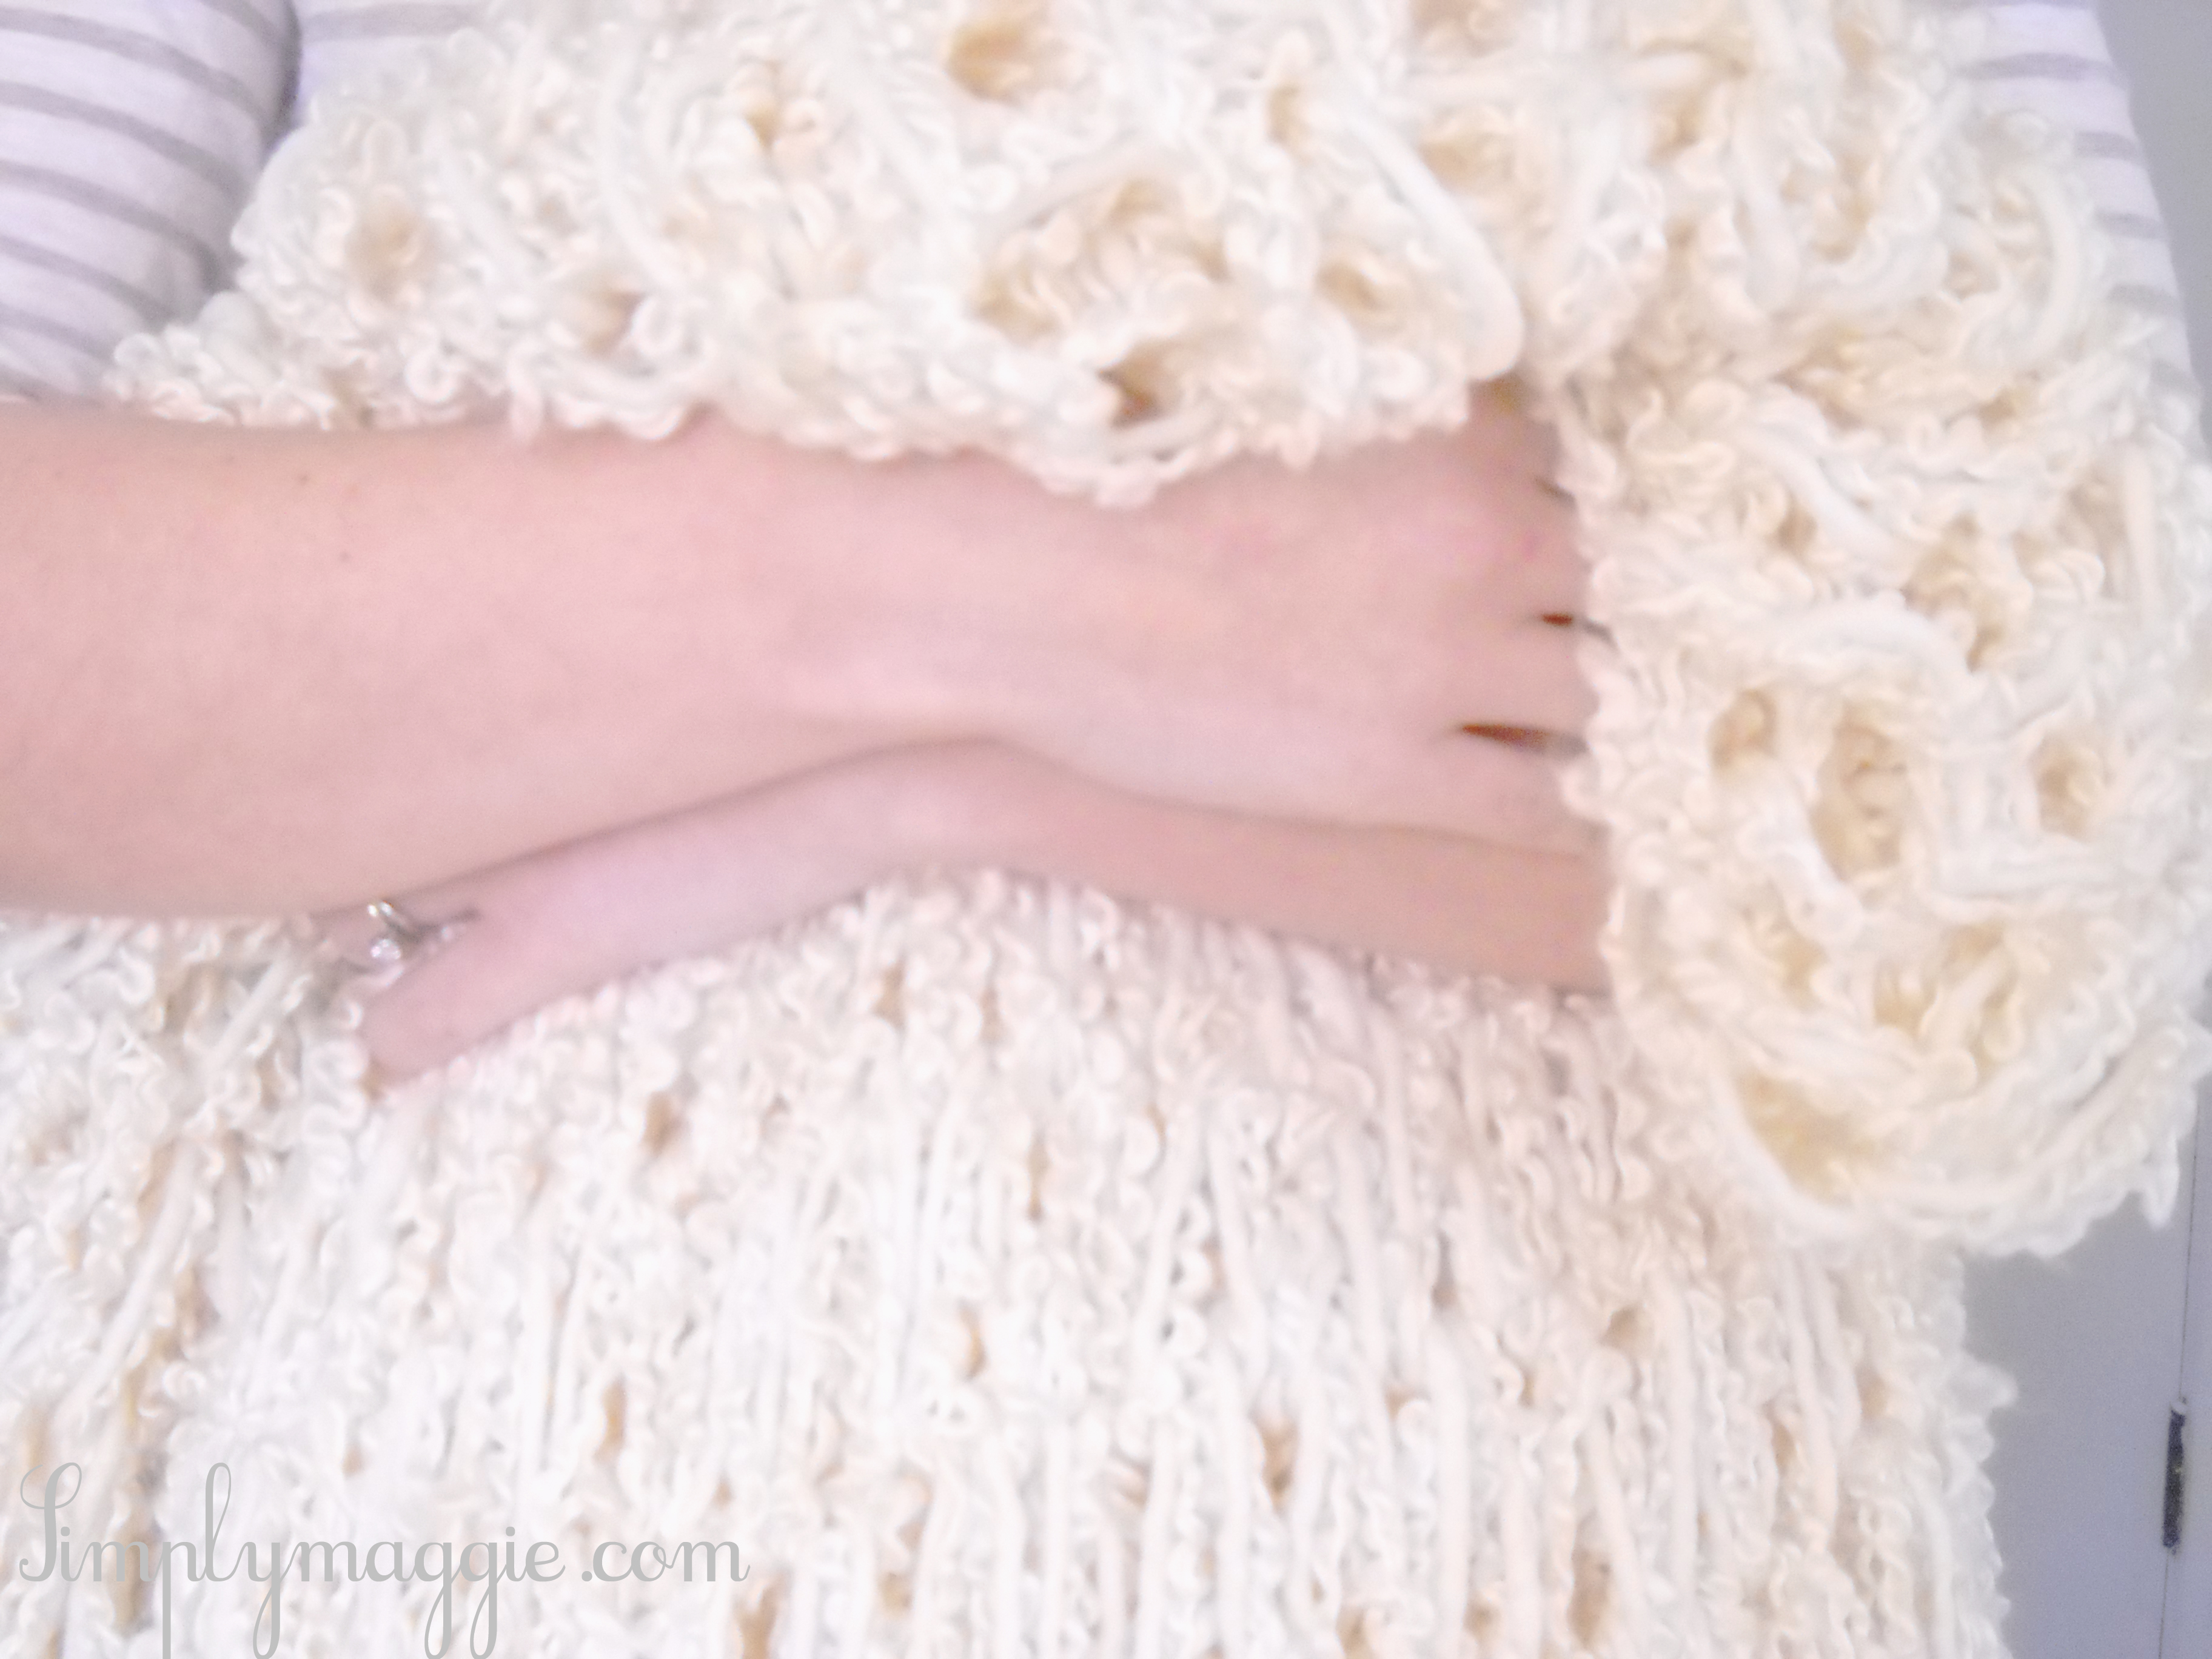
There were two things that made it onto my project list, and the first thing was a really cool and chunky scarf she made, using arm knitting! 


I have never seen this before, and I love the effect!  I love big and chunky soft knits, so this is right up my alley.

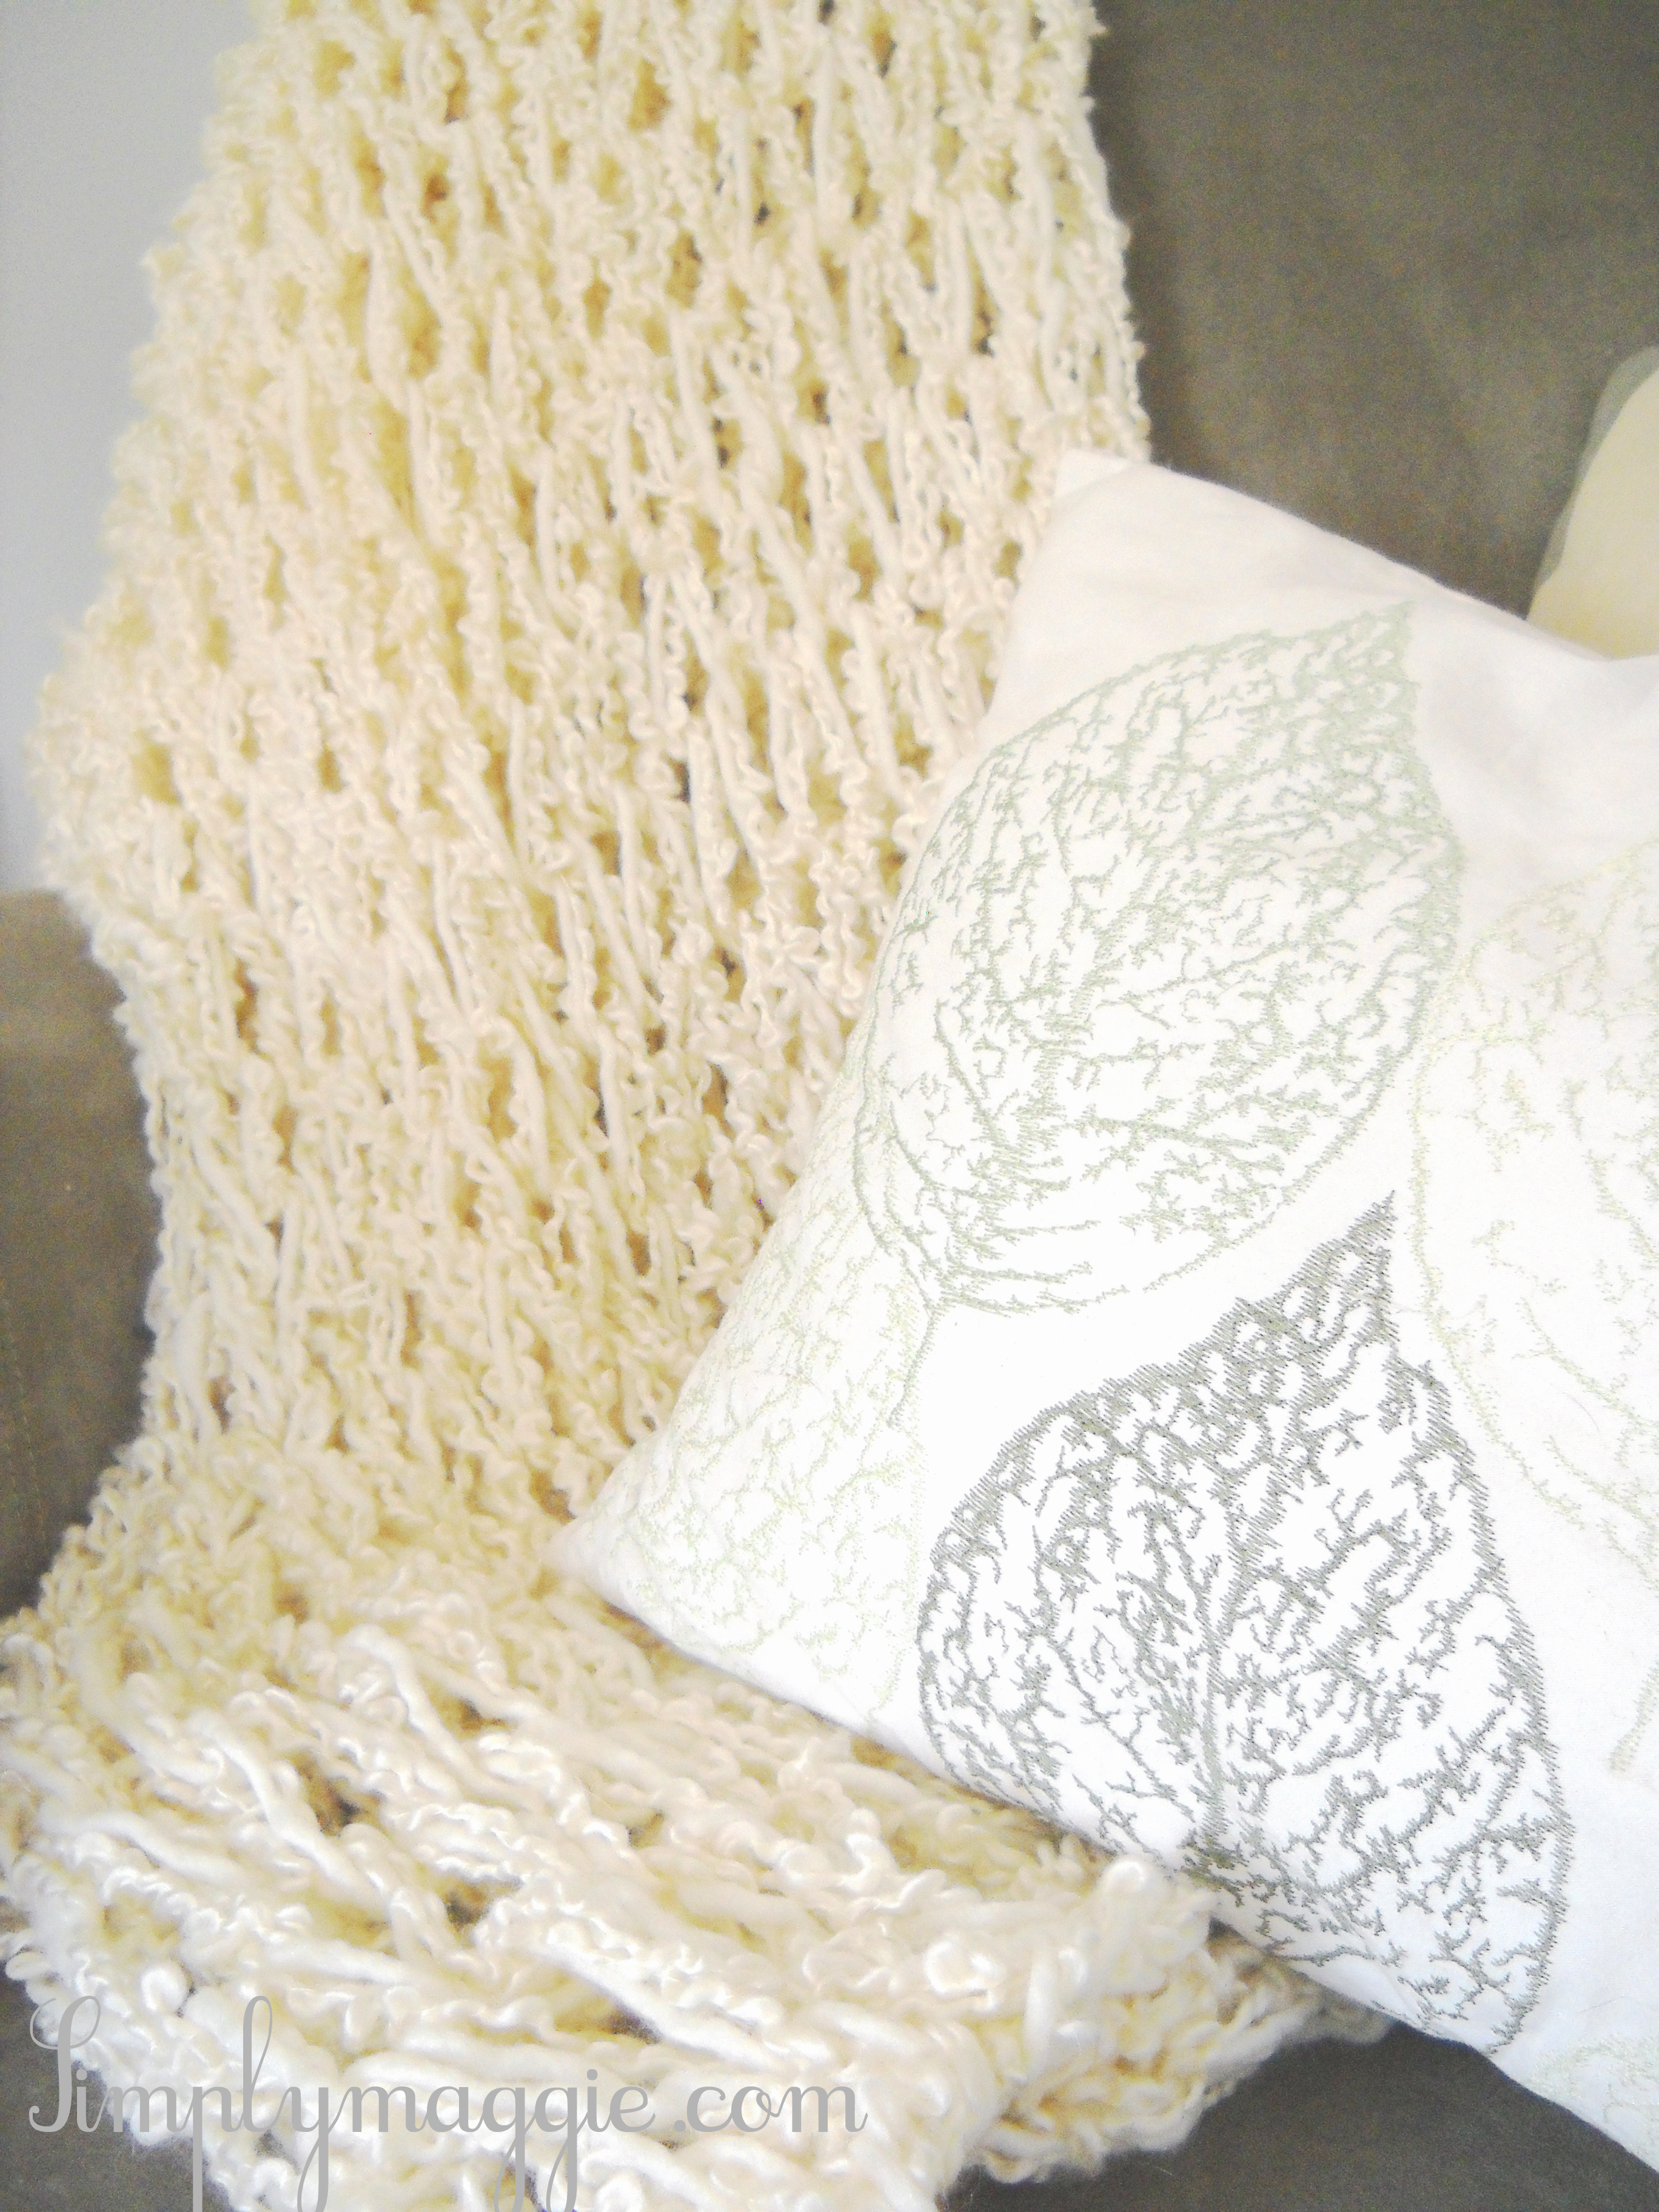
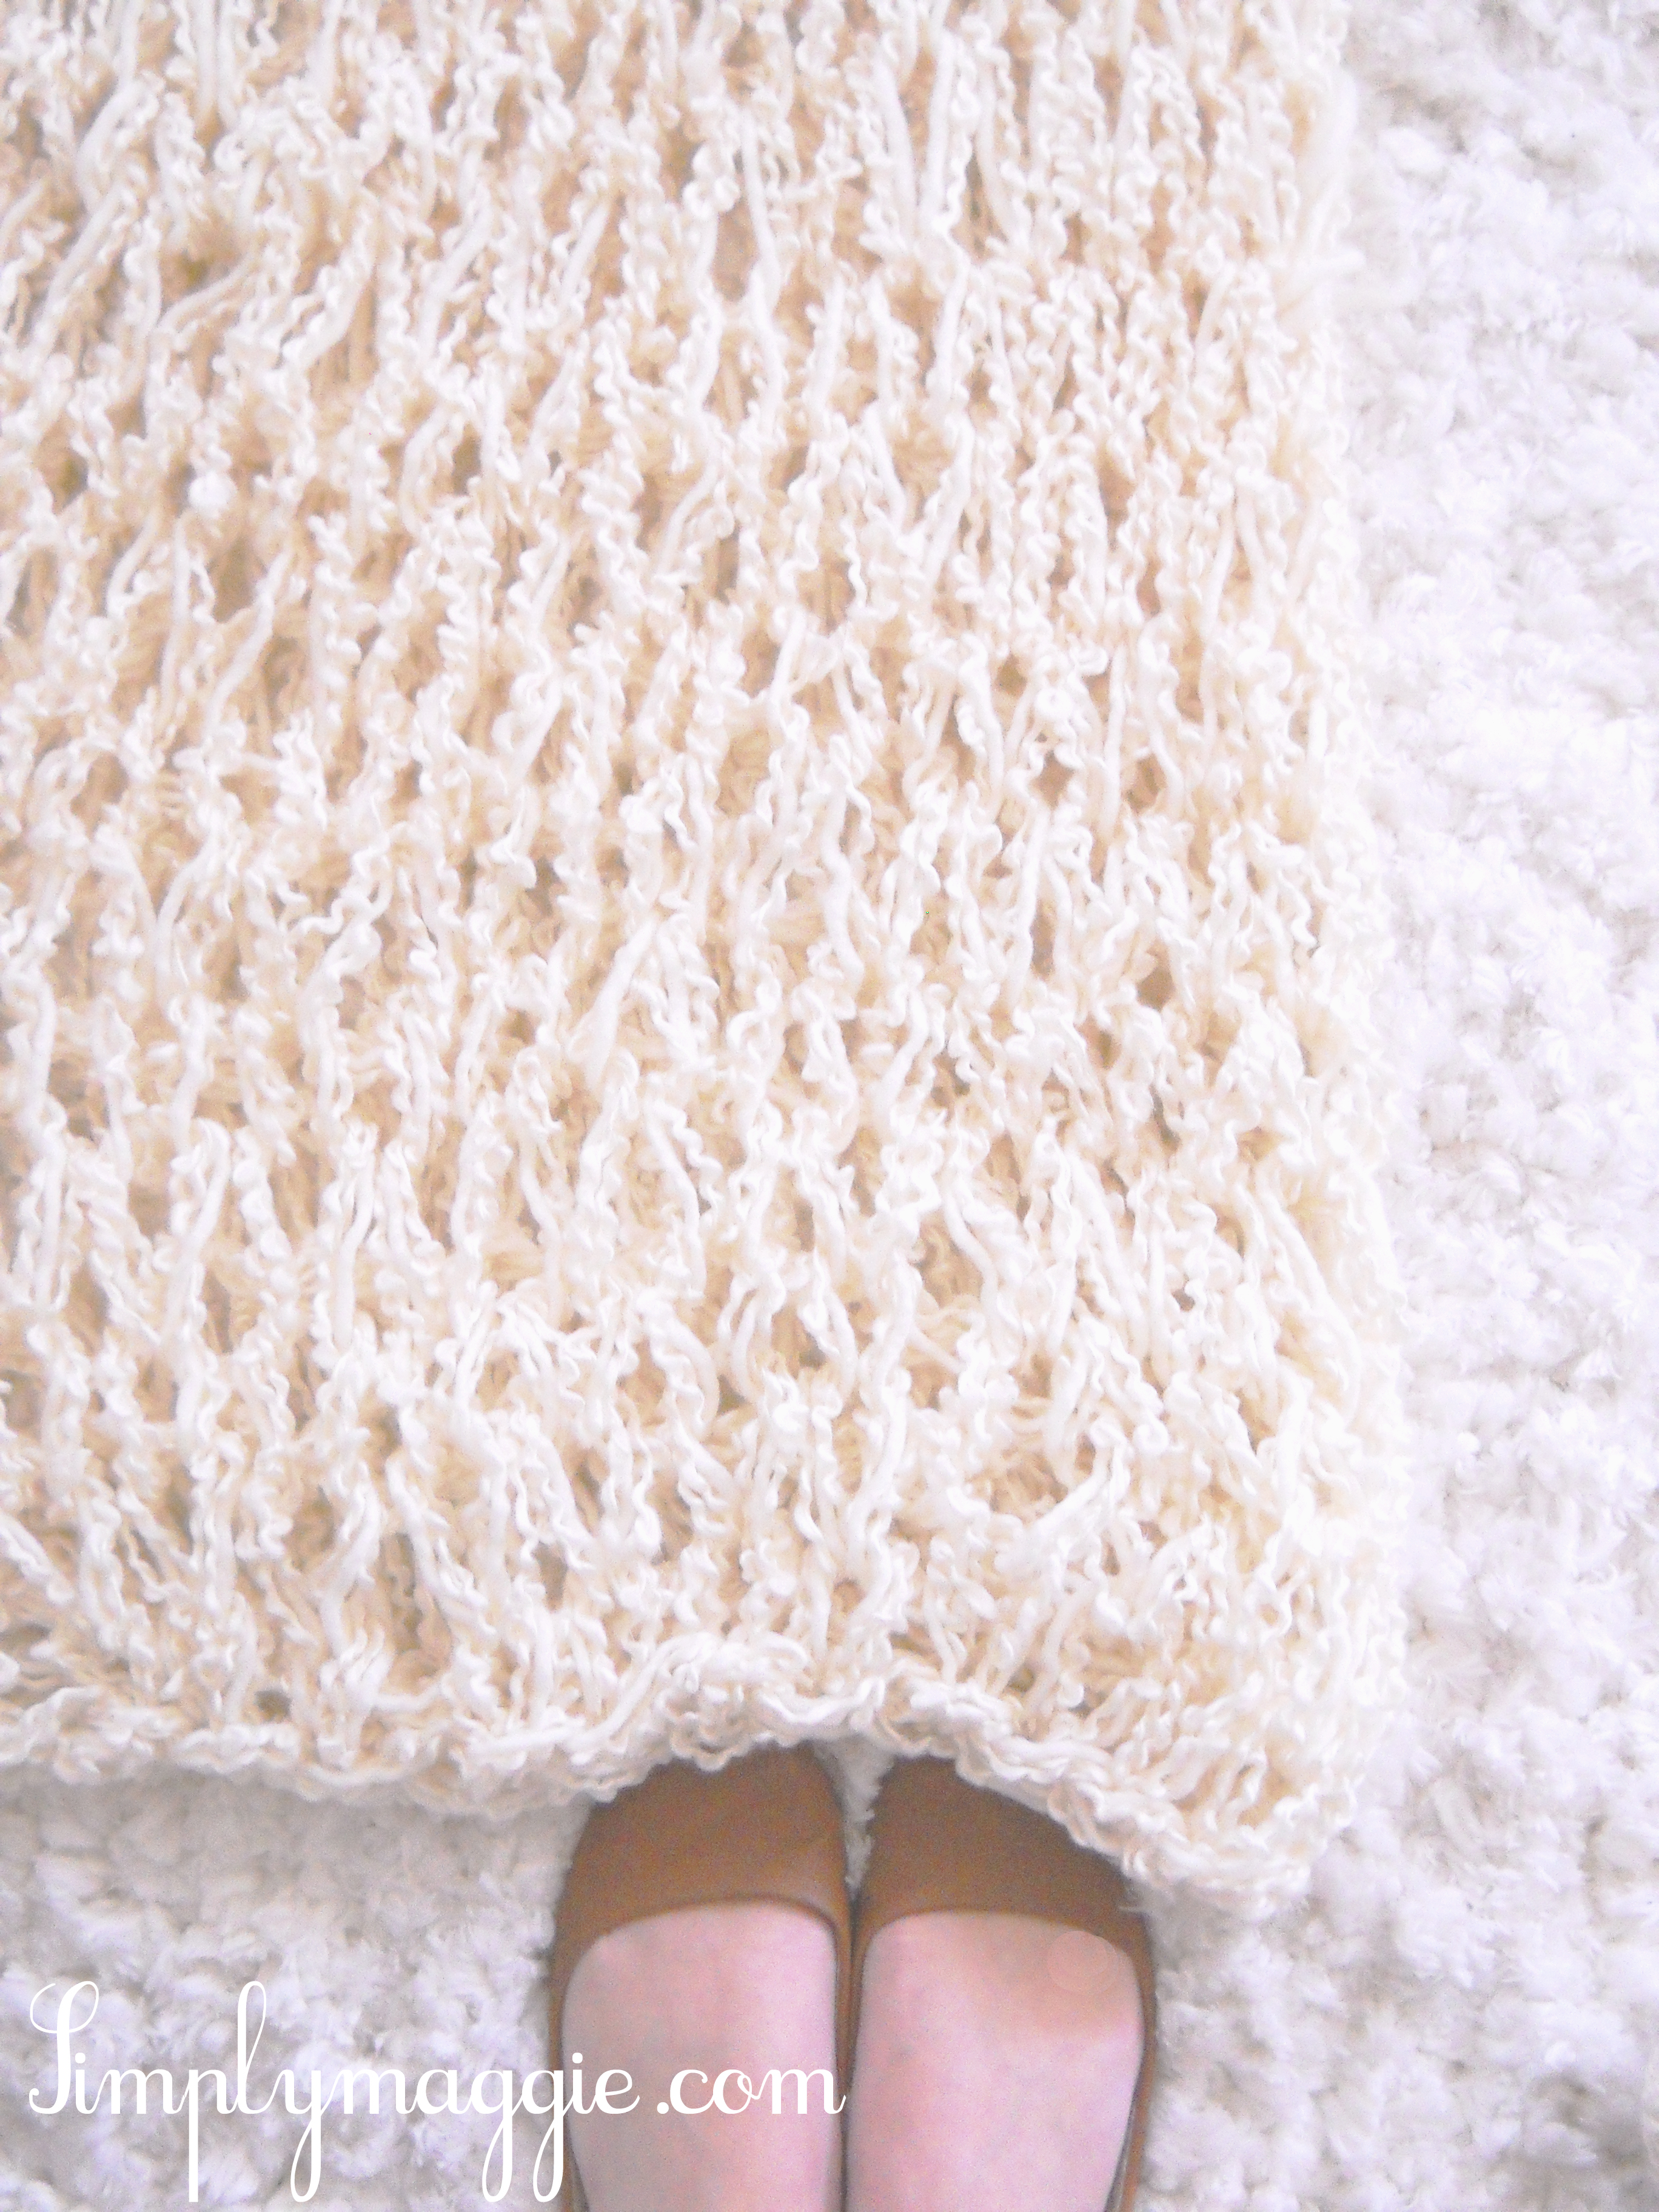
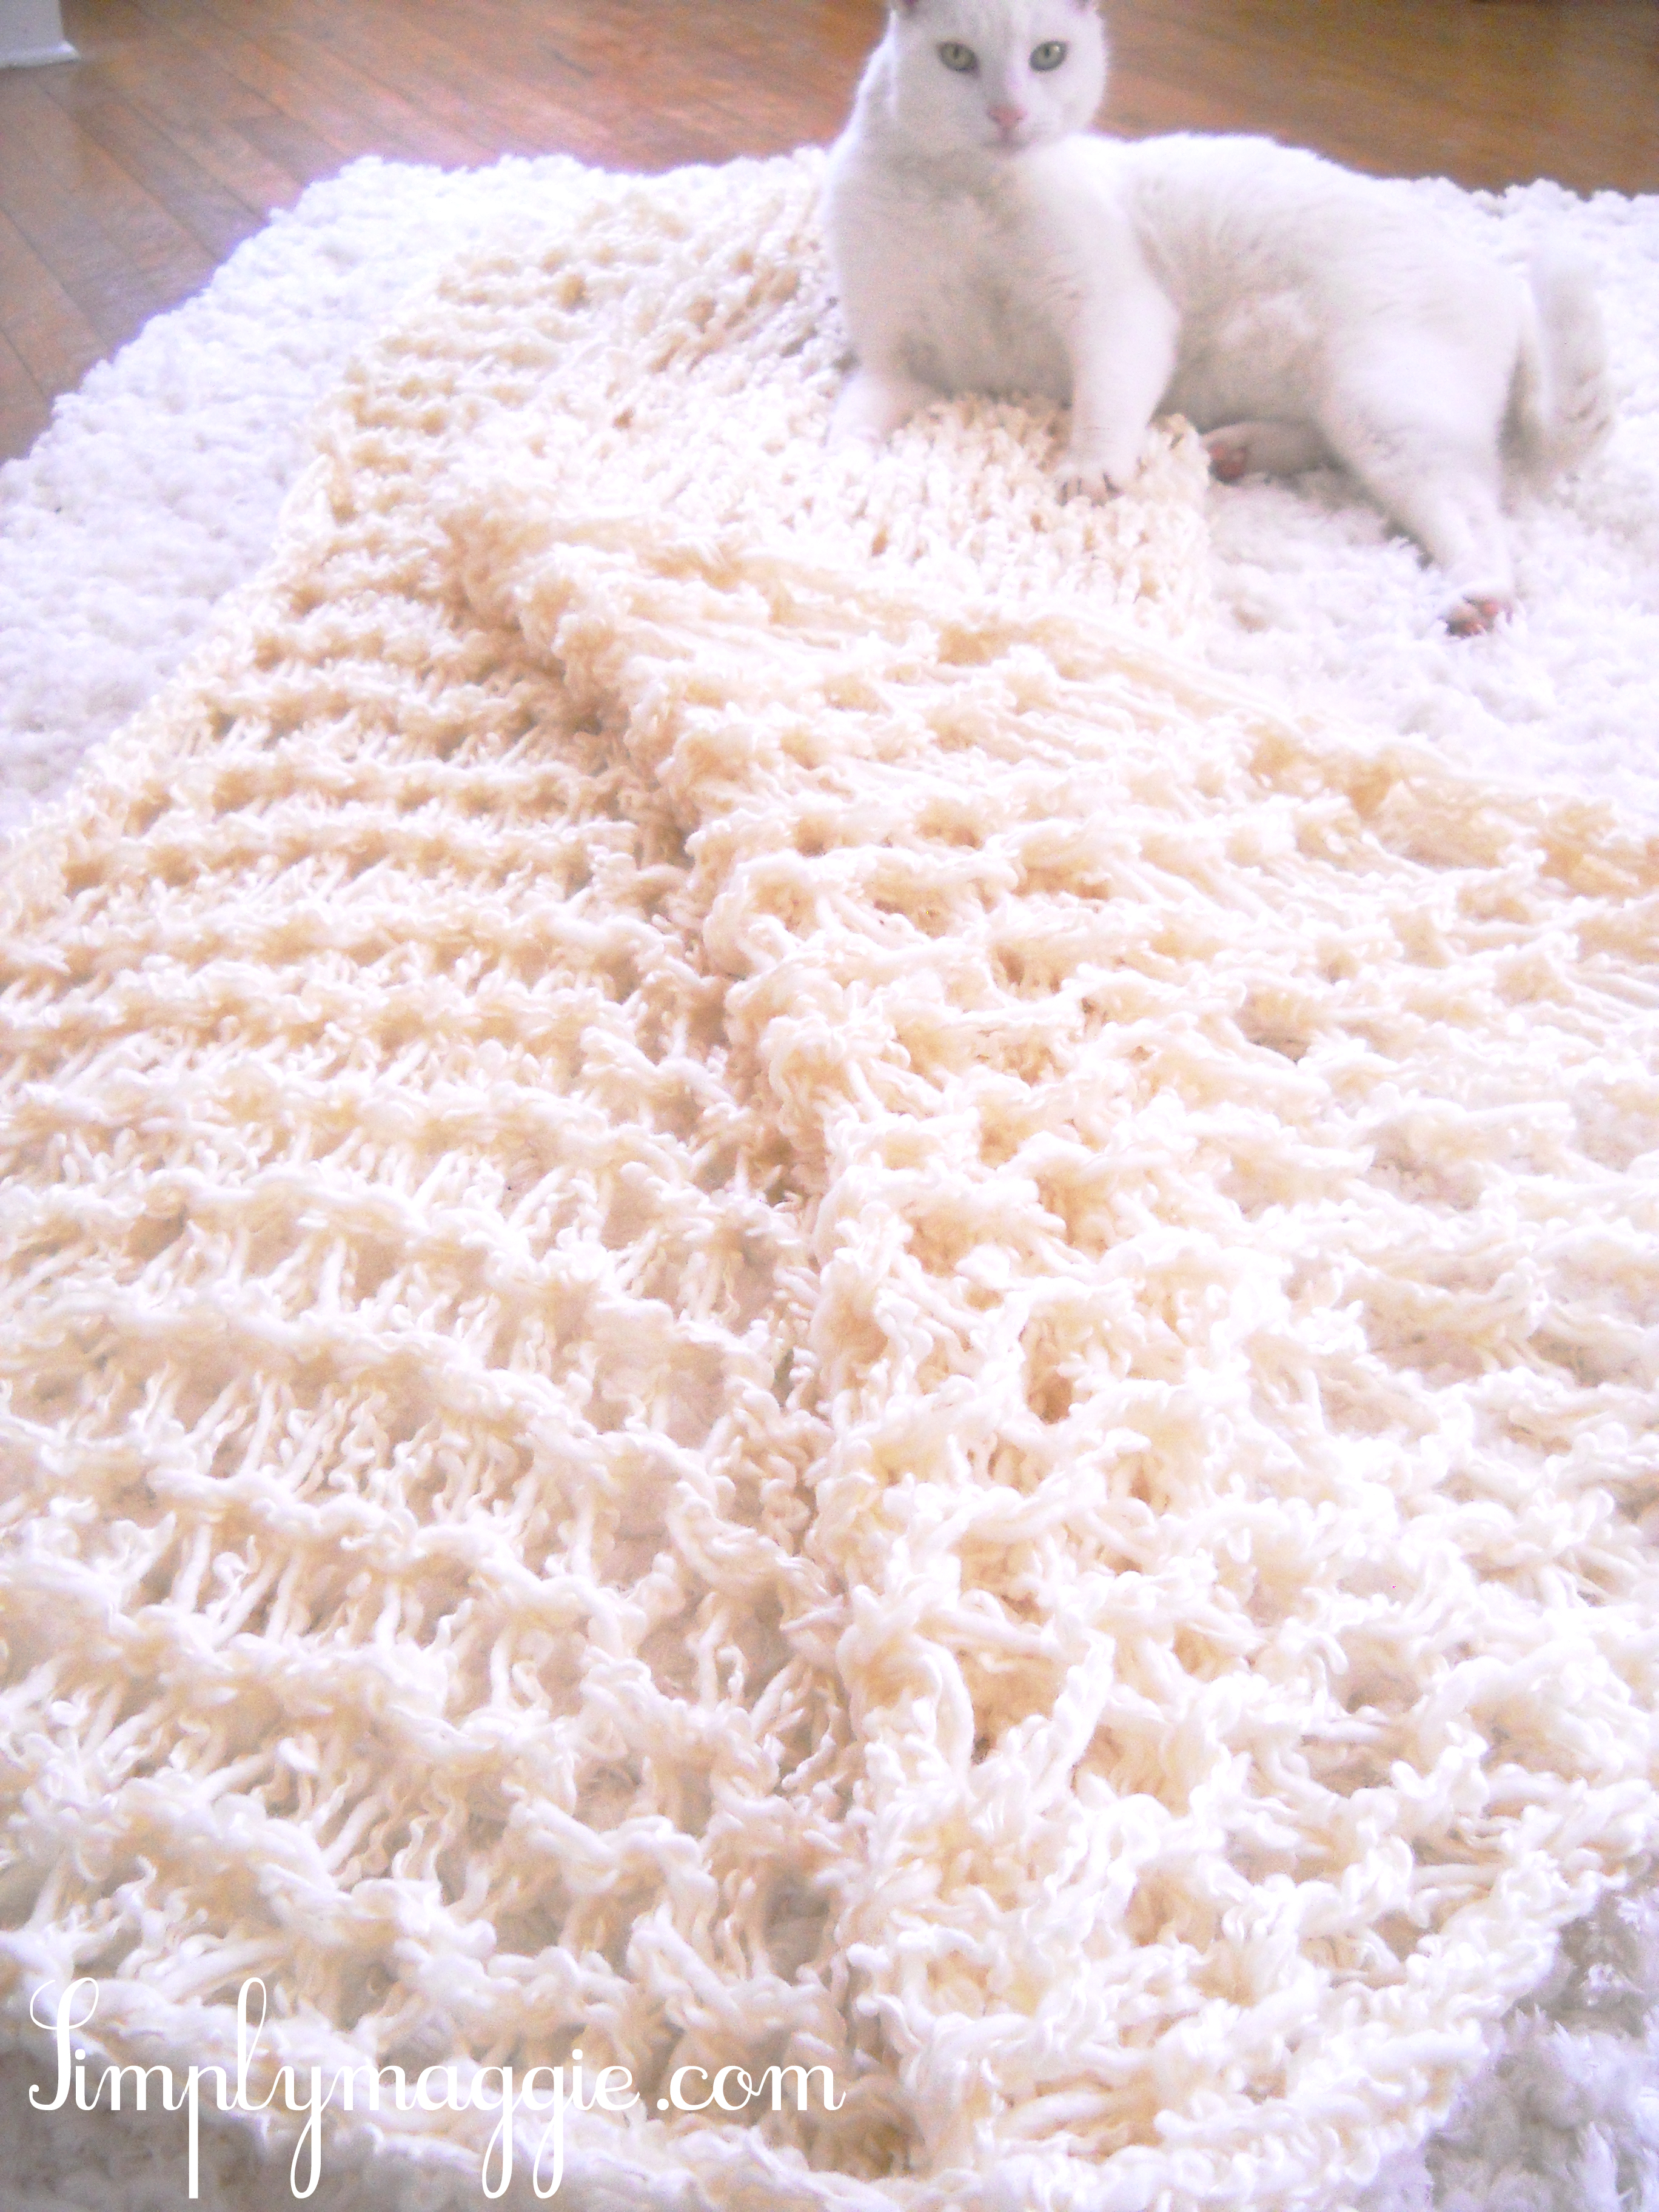
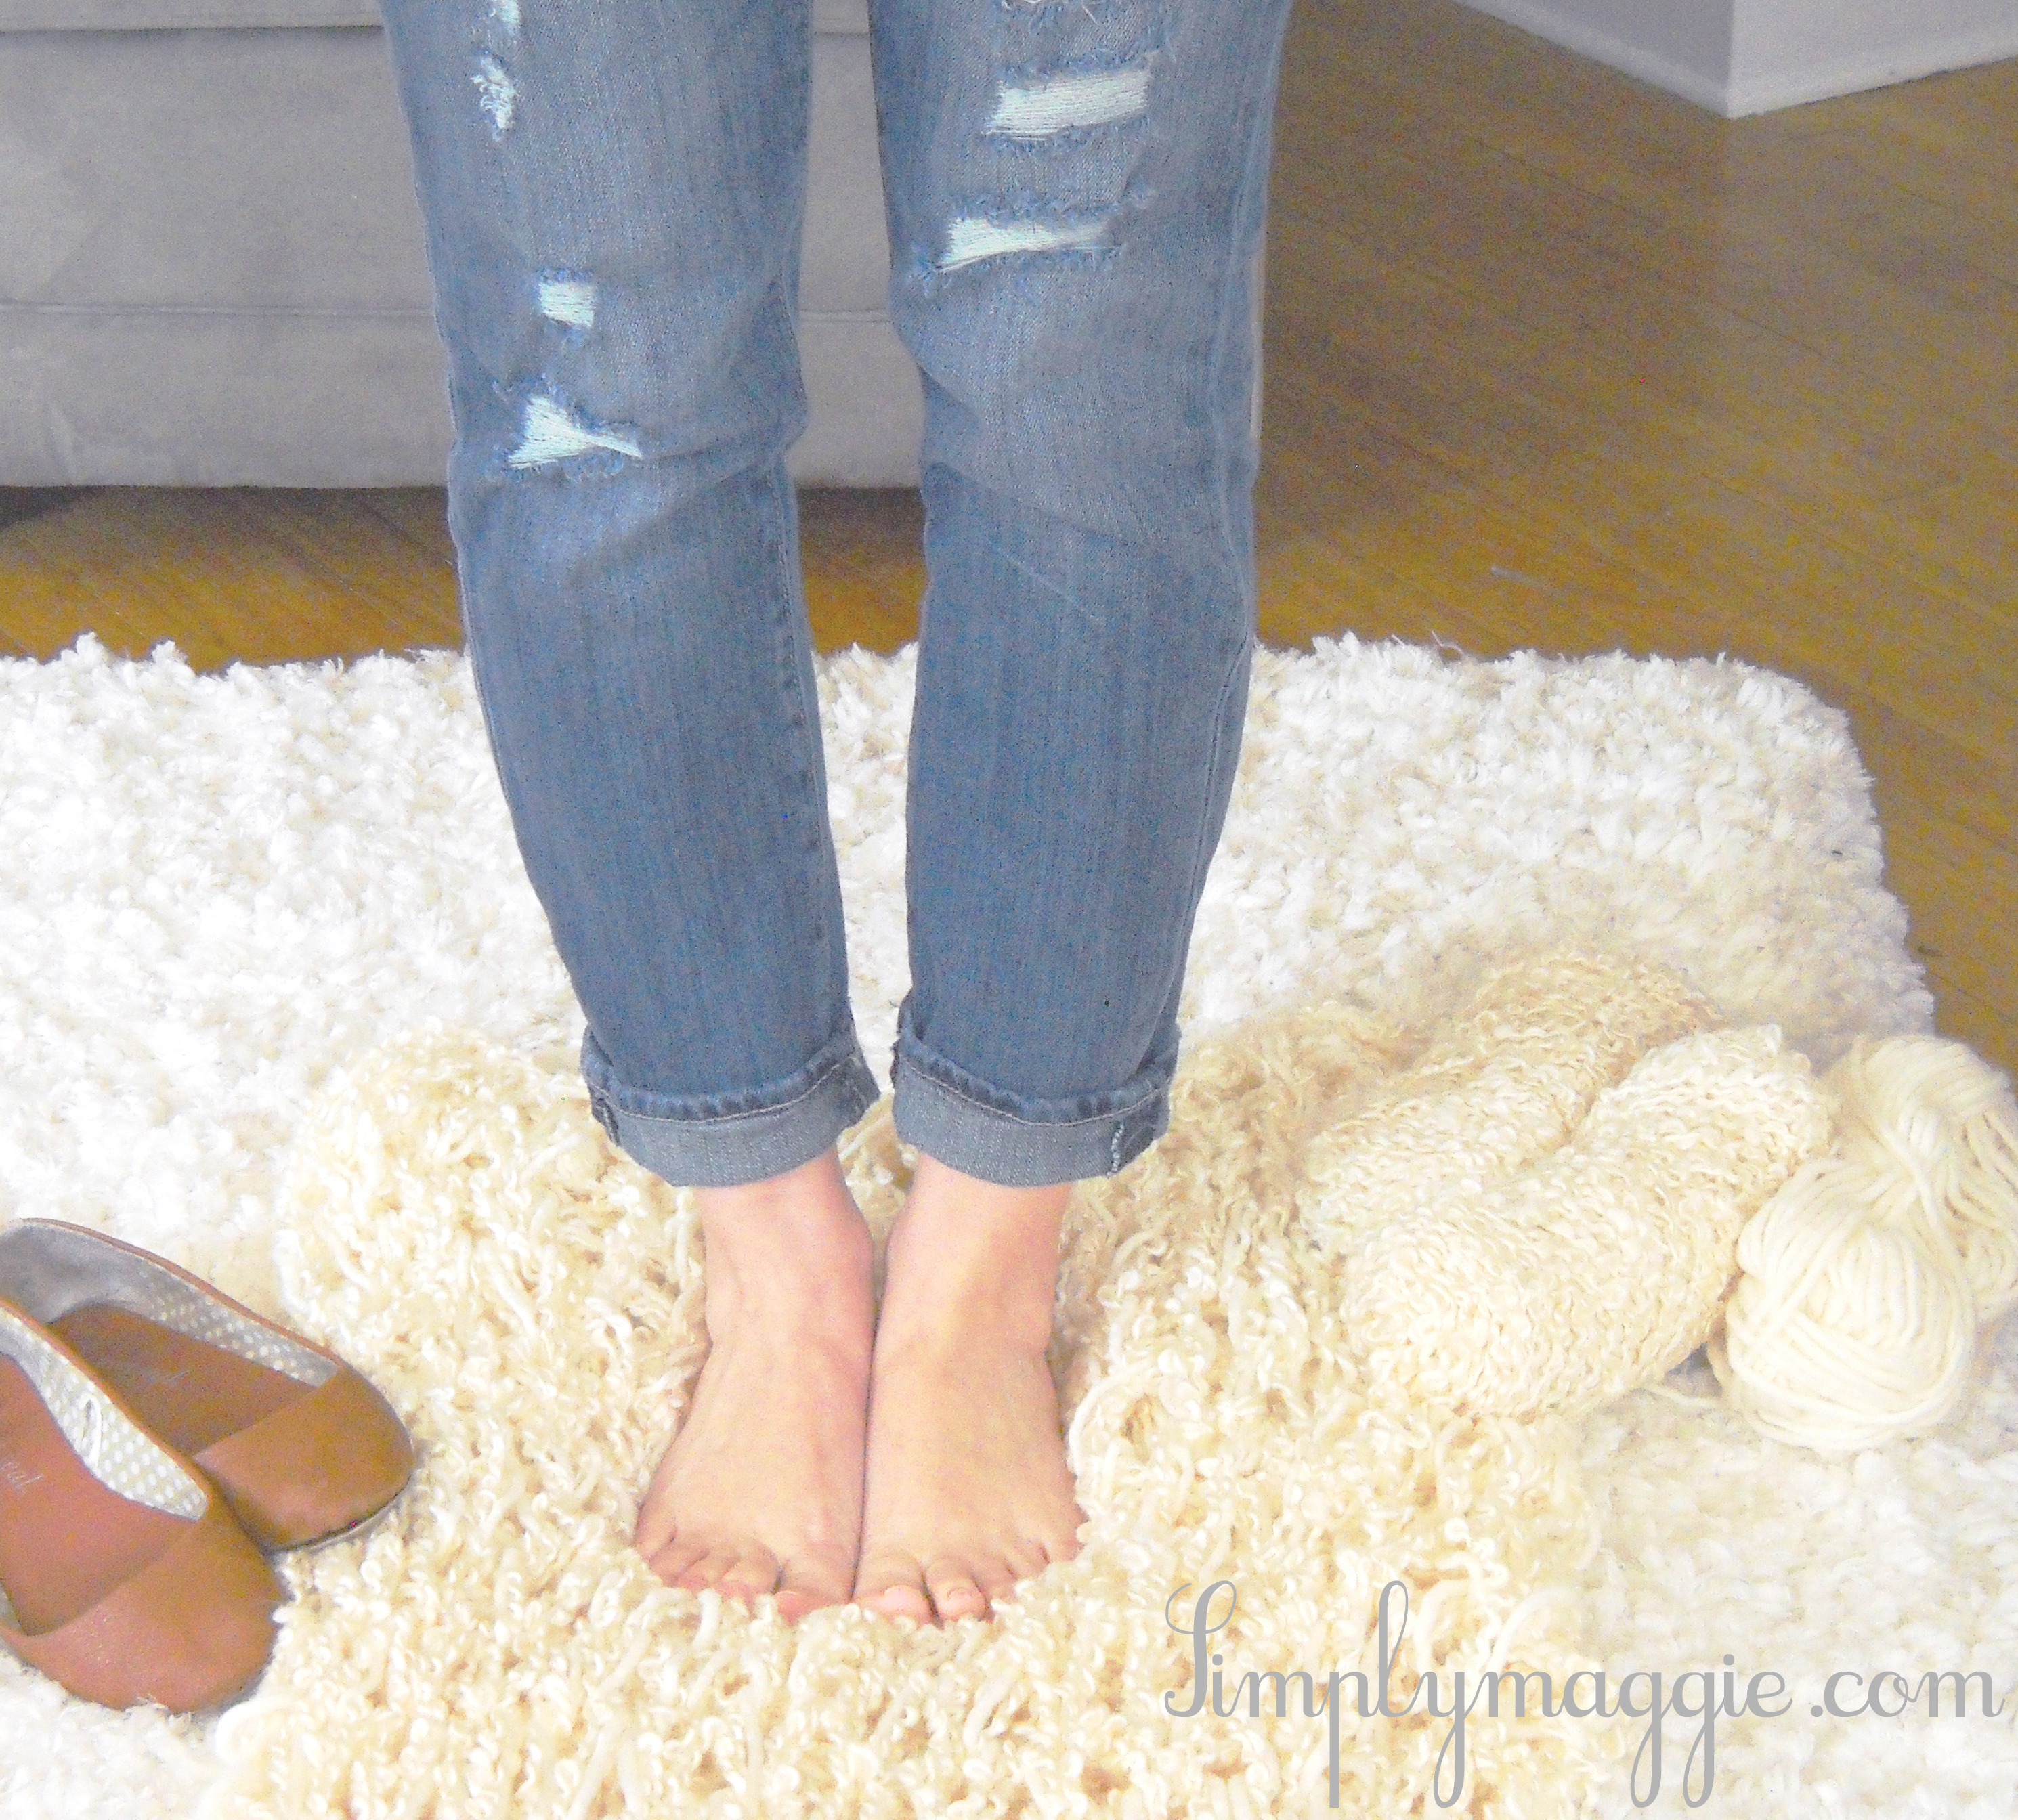
The second thing that made it on the list was a lovely blanket she made using the same technique, and it's so quick too - we're talking about 30 minutes to an hour of work per piece!
 

It will take quite a bit of yarn to create either one, and they are made with double and triple strands of yarn at the same time.

Below you'll find full instructions, links and videos on how to proceed! 

Have fun!  :)


- Arm Knit Scarf -

"I LOVE chunky, comfy, soft, scarves. As do many women:) But they can be pricey and I never find reasonably priced scarves that I LOVE. So why not just make one!
Here’s how. Learn to ARM KNIT! That’s right, don’t buy huge needles, just use your arms as the needles. You can find a couple of videos on YouTube on how to do this. If you don’t like the videos you find just let me know and I will make one if I get enough requests:)

Here is what I made and what I used to make it:
I bought 2 skeins of Lion Brand Yarn. Wool Ease Thick and Chunky in the color Linen. I used both skeins at one time by combining the ends and knitting with two strands. I think I only used about half of each skein so I have left overs for another project which means that this scarf only cost me $7.00!! And about a half hour of my time.
 

I made it into a circle scarf by sewing the ends together to make one long, continuous round scarf and then I just wrap it around my neck twice."


- simplymaggie -


- Arm Knit Blanket - 
How to:
  • Cast on 32 stitches
  • Arm knit for 23 rows
  • Bind off and knot it at the end
  • Weave in the ends of yarn
Materials I bought:
  • 4 Skeins of Silky Twist Super Bulky Yarn
  • 2 Skeins of Bernat Roving Bulky Yarn
I had about 1/4 left from the last 3 skeins of yarn I used. Probably enough to make an infinity scarf!!:)
To learn how to Cast On, Arm Knit and Bind Off GO HERE."


Aren't they just great?  I completely fell in love with this - must try out!


Have a good one!


mandag 11. februar 2013

Knitting Recipe - Tiny Baby Bunnies

While browsing I came across this amazingly cute and simple recipe for knitted baby bunnies!  The recipe is from "mochimochiland".

A cute idea that is quick to execute!  Enjoy!  :)


tinybabybunnies2

These mini-marshmallow-size bunnies are the ultimate scrap yarn project, and can be whipped up in just a few minutes!
Use sock yarn as shown, or scale the project up by using thicker yarn and larger needles for a bigger bunny.

Finished size: about 3/4-inch long

Yarn:
Fingering-weight yarn in 2 colors and black (Samples made with Knit Picks Palette yarn)

Needles: Set of size 1 US (2.25 mm) double-pointed needles

Other materials:
Small tapestry needle
Small amount of stuffing or scrap yarn

Gauge: Doesn’t matter, as long as your stitches are on the tight side.

Abbreviations:
CO = cast on

rnd = round

k = knit
st(s) = stitch(es)
kfb = knit into front and back of stitch (increases by 1 stitch)
k2tog = knit 2 stitches together (decreases by 1 stitch)

Note: The finished bunnies are very small and are not suitable for small children.

tinybabybunnies


——– Pattern starts here! ——–

Body (worked back to front)
CO 6 sts onto 3 needles and join in a rnd.
Rnd 1: [kfb] 6 times (12 sts)
Rnd 2: [kfb, k1] 6 times (18 sts)
Rnds 3-8: knit (6 rnds)
Rnd 9: [k2tog, k1] 6 times (12 sts)
Insert a tiny amount of stuffing.
Rnd 10: [k2tog] 6 times
Break yarn and draw tightly through sts with tapestry needle.

Eyes
With black yarn, embroider eyes with 2 small stitches for each near the end you just closed up.

Ears
CO 2 sts onto one needle.
Knit 10 rows of I-cord, then break yarn and draw tightly through sts with tapestry needle.
With end still threaded on tapestry needle, insert the needle under 2 sts at top of head. Pull I-cord halfway through, so that an equal length sticks out from each side.

tinybabybunnies_ears

Tail
With contrasting color yarn, embroider tail at CO end of body by making 4-6 horizontal stitches over the same area.

tinybabybunnies_tail


Weave in loose ends, and you're all done!


tirsdag 29. januar 2013

The Norwegian Skappel Sweater (skappelgenseren)

Alright, time for knitting!  But first, some information.

As requested, here in this post is the translated version of the "Skappel Sweater" (Skappelgenseren).    This recipe is not made by me, only translated by me.  The Skappel Sweater carries the name of it's maker -  Dorthe Skappel - a Norwegian TV celebrity.
Dorthe Skappel
She knitted the very first one for her youngest daughter Marthe, who of course loved it.  Then when Marthe was to mention her favorite garments in the magazine Costume, the sweater was of course one of her top pics and ended up in print.

Dorthe's second daughter Maria, who was pregnant at the time, asked for one for her birthday to have something comfy to hide her belly in during her pregnancy.  Maria then posted the recipe that I'm about to translate on her blog, and it spread like crazy - all of Norway was knitting.  Well done you girls!  ;) *round of applause*


Here is her daughter Maria on the front cover with the sweater

They have several lovely recipes on their webpage here, but most of them are for sale and I'm sure should not be redistributed by any one but themselves.   This recipe is at the moment available for free all over the internet in Norwegian.  Maria Skappel, Dorthe Skappels daughter, has it online for free in Norwegian on her blog here.

Since the sweater was a huge craze over here in Norway this summer - understandable as it's lovely and very easy to knit - all the alpaca yarn sold out all over the country.


Of course knitted it myself as well, and I really love it.


The sweater itself is nothing unique, a very common cut, so very very easy to do.  It's great for everyone, which is why it's so awesome!  It's also a really good project for beginners!

A lot of Norwegians learned how to knit last summer following this recipe.  Her are some photos showing the knitting craze.  You can find tons of pictures of #skappelgenseren on Instagram.

Images from From Instagram: #skappelgenseren


Ok, so here it is!  :)  Enjoy!


Recipe - The Norwegian Skappel Sweater (Skappelgenseren) 

Yarn:    
Pure Thin Alpaca (Tynn/Inca Alpakka) ca 7-8 bundles of 50 gr
Thin fluffy Alpaca (Iris Alpakka) ca 6-7 bundles of 50 gr

Knit with double thread – one of each type of yarn. 
You need to go check with your local store to see what options they have available of Alpaca yarn.  Bring pictures of the yarn shown in this recipe.

Thin Alpaca

Fluffy Alpaca

You don’t have to choose to have the exact same color in the two different types of yarn – that is all up to taste.


Needles:
For knitting needles you need two circular ones; One small in diameter for the sleeves and one large for front and the back piece.  

Pick the correct size for your region as shown below.   

US sizes seems to not have the equivalent of the metric size 7.  The closest seems to be 10/2 or 15.
 
METRIC SIZES (mm)
US SIZES
UK/CANADIAN
7.0
10 1/2
2

You’ll use this size for the entire sweater.


General Information:
This sweater is knitted in several large squares that are sown together at the end.   

The entire sweater, except from the border where you use ribbing, is knitted in garter stich. 

Even though you use circular needles for the knitting, you still only knit back and forth, you don’t around.  This makes it really simple and quick to finish.

The size is one size fits all, and the size is large and comfy!  As you knit, hold it up in front of you, look in the mirror, and measure!

Original drawing for measurements shared by Maria Skappel on her blog

Remember when you bind off, do it as loose as possible.

A neat little thing is to make the back piece longer than the front piece, as well as also leaving a little split in the sides.

On a side note:
Personally I found it too big, so I undid the whole back and front pieces and reduced the number of stiches per piece to 60. I kept the arms as they were.  Worked like a charm.


How to Proceed:
BACK
Cast on 80 stiches on the large circular needle. 
Knit 4 cm of ribbing.
After this, proceed with garter stitch until you reach the desired length. 
Bind off very loosely.

You now have your first square.

FRONT
Proceed in the exact same fashion as with the back, but when you are 7 cm from the desired length, bind off the 16 center stitches. This is the neck lining.
You will continue to knit on one side of the neck lining, so the opposite side needs to be put on a tied off thread or a separate knitting needle while it’s on hold and you’re knitting the other side. 
Continue to knit back and forth on one of the sides while you decrease one stich closest to the neck lining every row for four rounds.  This is how you create the rounded off side of the neck lining.  After this you should have 28 stitches left on your needle on the one side of the neck.  Knit onwards until you’ve reached the desired length, about 7 cm, and bind off.
Repeat on the other side of the neck.

ARM
Cast on 40 stitches. 
Start by ribbing for 4 cm. 
Then you continue onwards with garter stitch until you’ve completed 15 rounds (30 rows).
Add a stitch on each side of the arm.  (For best result, add the stitch one stitch in from the outermost stitch on each side.)
Knit 4 rounds (8 rows).
Add 2 more stitches.
Repeat this process until you reach 52 stitches.
Knit until desired length, and bind off.

Repeat for second arm.


All the pieces are complete!  Now you just need to sow them together.  Use the thin alpaca, not the fluffy one, for sowing the sweater together.

Original drawing of how to sow it together shared by Maria Skappel on her blog


Voila! 
You’ve gotten a new amazingly fluffy and comfy sweater!  - And best of all:  you made it yourself!!

Good luck!


A big Thank You to the Skappel family for spreading the joy of knitting to the younger generations here in Norway!


Here are some lovely shots of the finished sweater done in grey that I found online.  Yup, just as comfy as it looks - trust me.


Ok, that's it for me then, time to wrap it up here.

This is the first time I'm writing a recipe in English.  I'm still trying to get the hang of the different names as they are very different from in Norwegian, so please if you see an obvious mistake, let me know and I'll correct it right away!  :)

If you like this one, another one for children is also available online in Norwegian for free.  If you say pretty please I'm sure I could get around to translating that one too!  :)


online image shared by Maria Skappel


I hope you like the recipe!  Go get your gear and get started!
I'd love to see your result, so pretty please share in the comments section on the blog! :)

Enjoy, and have fun!